


|
|
|
Radiator leaking |
Post Reply 
|
Page 12> |
| Author | |
WorkInProgress 
Member 
Joined: 13 Nov. 2013 Location: Kennewick, WA Status: Offline Points: 829 |
 Post Options Post Options
") Thanks(0) Thanks(0)
 Quote Reply Quote Reply
 Topic: Radiator leaking Topic: Radiator leakingPosted: 03 Mar. 2015 at 4:27am |
|
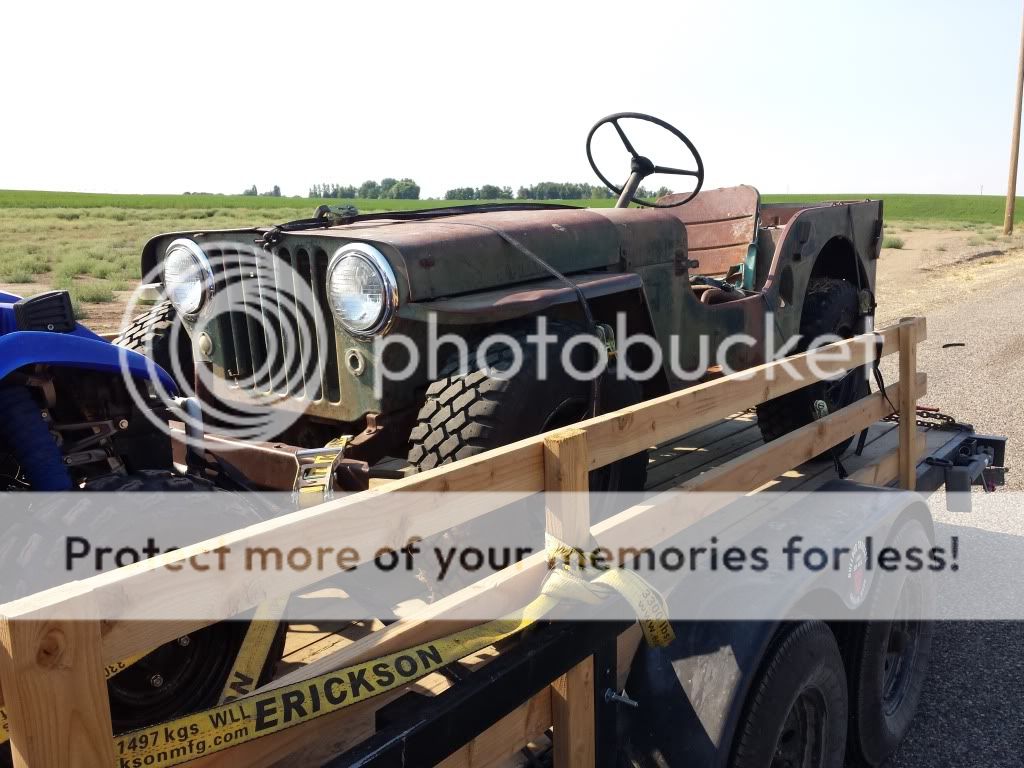
I just noticed my radiator started leaking at the upper radiator hose metal pipe fitting thingy. right now its more of a seep and is likely trying to break free from the radiator. im going to be getting this fixed before it leaves me stranded and possible overheat. it seems to be the original almost 70 year old radiator so its probably copper right?
does this sound like a job I should tackle myself? although its probably an easy fix I think I will take it to a shop. but also since its pretty easy to access in the vehicle should I tow the jeep down to the shop with the coolant drained or should I just remove the radiator and take just that to them?
|
|
|
My toys
1948 CJ2A 1959 CJ5 1952 M100 TRAILER |
|
 |
|
|
WorkInProgress
Member
Joined: 13 Nov. 2013 Location: Kennewick, WA Status: Offline Points: 829 |
Post Options
Thanks(0)
Quote Reply
Posted: 03 Mar. 2015 at 4:34am |

|
|
|
My toys
1948 CJ2A 1959 CJ5 1952 M100 TRAILER |
|
|
|
|
WorkInProgress
Member
Joined: 13 Nov. 2013 Location: Kennewick, WA Status: Offline Points: 829 |
Post Options
Thanks(0)
Quote Reply
Posted: 03 Mar. 2015 at 4:37am |
|
When I got the jeep it didn't have the top radiator support bar and it had a long straight hard upper radiator hose. so those were probably putting extra stress on the radiator. but then again when I got the jeep it probably hadn't ran since the 70's
|
|
|
My toys
1948 CJ2A 1959 CJ5 1952 M100 TRAILER |
|
|
|
|
Mark W.
Member

Sponsor Member Joined: 09 Nov. 2014 Location: Silverton, OR Status: Offline Points: 7986 |
Post Options
Thanks(0)
Quote Reply
Posted: 03 Mar. 2015 at 8:20am |
|
Its more then likely it will save you money to walk in with the Radiator in hand. It would also be a great opportunity to have them check it out completely and give it a serious cleaning. Once out of the Jeep you might as well put it as right as possible.
|
|
|
Chug A Lug
1948 2A Body Customized 1949 3A W/S 1957 CJ5 Frame Modified Late 50's 134L 9.25"clutch T90A D18 (1.25") D44/30 flanged E-Locker D25 5.38 Since 1962 |
|
|
|
|
tomahawk715
Member
Joined: 20 Aug. 2014 Location: Black River MI Status: Offline Points: 144 |
Post Options
Thanks(0)
Quote Reply
Posted: 03 Mar. 2015 at 3:24pm |
|
Its a pretty easy fix. I cant believe its leaking all the way around. Prob from one spot.
You have to have the fluid level lower than the neck. Clean all the paint off. Clean it very well. Then get out your torch and plumbing solder and re braze around where the two meet. Ive had to repair around the neck and actual cracks in the tank itself. If your taking it to a radiator shop they will probably want it out--Id call first |
|
|
If a man says something in the garage - and his wife can't hear him - is he still wrong???
|
|
|
|
|
TERRY
Member

Sponsor Member Joined: 22 May 2007 Location: BOULDER COLORADO Status: Offline Points: 3400 |
Post Options
Thanks(0)
Quote Reply
Posted: 03 Mar. 2015 at 3:34pm |
|
I agree, clean it up, apply flux and re-solder the joint yourself.
|
|
|
BOULDER 48 2A
|
|
|
|
|
WorkInProgress
Member
Joined: 13 Nov. 2013 Location: Kennewick, WA Status: Offline Points: 829 |
Post Options
Thanks(0)
Quote Reply
Posted: 03 Mar. 2015 at 4:13pm |
|
Can someone Post a picture of the Flux and solder I need and what ratio or content or whatever please?
|
|
|
My toys
1948 CJ2A 1959 CJ5 1952 M100 TRAILER |
|
|
|
|
tomahawk715
Member
Joined: 20 Aug. 2014 Location: Black River MI Status: Offline Points: 144 |
Post Options
Thanks(0)
Quote Reply
Posted: 03 Mar. 2015 at 5:13pm |
|
Get the thick tin-lead solder 50/50. Dont use lead free or electrical stuff. Dont use flux core stuff-Ive never had any success with it.
Use a good plumbing flux. Prep is everything--make sure its good and shiney to start. Better to use lower grit stuff and work down things than sand off material. Two things--one which dont apply to your fix here. Id not attempt to fix a corroded leak in the tank section of the rad. Those seem to start inside and work out-so you just end up with a leak again. Those repairs need the thing cleaned out well inside and out. Yours is a seam so should be easy repair. Stress cracks in the tank are another "clean fix" 2nd--If your going to use an electric iron to do the repair--A small home owner one for electrical aint gonna cut it. You need need a hotter one. I use a small propane torch. Just go slow with the heat. Keep testing the solder against it--it should flow in just like doing the pipes in your house. If you have never done pipes you may want to get a couple fittings and pipe and mess around till you get the hang of it. |
|
|
If a man says something in the garage - and his wife can't hear him - is he still wrong???
|
|
|
|
|
tomahawk715
Member
Joined: 20 Aug. 2014 Location: Black River MI Status: Offline Points: 144 |
Post Options
Thanks(0)
Quote Reply
Posted: 03 Mar. 2015 at 5:21pm |
|
Those straight hoses are hell on those joints. One area where it pays to buy the right hose.
Learned a neat trick years ago for finding hoses after an engine swap. Swapping motors into vehicles they never came in. I have a bunch of old used/garbage/junk hoses Ive taken off vehicles. All different kinds of bends etc. Well you take those and cut them up as you need and kind of "puzzle piece" them together to make the hose you need. Duct tape all the pieces together so they are a solid hose. Then take your creation to a good parts house (not the local chain idiot place) and tell them you need a hose like the one you have made. Its amazing how close you can usually get--you may have to remove an end or a bend but Ive never not had one that looks "stock" after doing it. |
|
|
If a man says something in the garage - and his wife can't hear him - is he still wrong???
|
|
|
|
|
p3ferris
Member

Joined: 22 July 2005 Location: Norfolk Nebraska Status: Offline Points: 3812 |
Post Options
Thanks(0)
Quote Reply
Posted: 03 Mar. 2015 at 7:46pm |
|
The flux is also soldering paste. 50/50 is best yes. lay it flat wire brush it clean...I use one on a drill first then take my knife into the hard to get crack. Apply flux/soldering paste generiously. Heat up with a torch just long enough to melt the solder when touching it on the metal. It will flow around the connection remove flame if you are getting it too hot. NOT beet red just hot. When it circles you are done Test it before painting, you can do that in the veh. BRIGHT RED........just kidding ,Black
|
|
|
Ed
cj2a lefty |
|
|
|
|
WorkInProgress
Member
Joined: 13 Nov. 2013 Location: Kennewick, WA Status: Offline Points: 829 |
Post Options
Thanks(0)
Quote Reply
Posted: 04 Mar. 2015 at 5:12am |
|
I pulled the radiator today and got started on the repair myself as suggested. I went to oreillys to purchase some solder for the radiator and all they had was Firepower 60/40 which google searching claimed that ratio was for general purpose soldering including radiators and was NOT FOR ELECTRICAL. after using I searched more and believe it was said online that it was acid flux but ive already used it.
I first used a cordless drill with a wire wheel attachment and then wet dry sandpaper. then I used mineral spirits to attempt to remove oils and grime. then I smeared generous amounts of flux all around the area and using my small soldering torch I began soldering but I don't believe it was powerful enough and wasn't getting it hot enough. even though I got it hot enough to stick well to the radiator and made a good bead around the neck it didn't really flow which I believe means it wasn't getting hot enough to actually liquefy and puddle out. so tomorrow I will be going to purchase a small blue propane bottle torch like used for plumbing to attempt to puddle out the solder smoothly.    |
|
|
My toys
1948 CJ2A 1959 CJ5 1952 M100 TRAILER |
|
|
|
|
WorkInProgress
Member
Joined: 13 Nov. 2013 Location: Kennewick, WA Status: Offline Points: 829 |
Post Options
Thanks(0)
Quote Reply
Posted: 04 Mar. 2015 at 5:19am |
|
currently it doesn't look pretty but it seems like it would seal and hold tomorrow I will be getting a hotter torch to reattempt it.
but also when I was working on the repairs I also noticed the filler neck that the cap screws to has a vertical crack that I believe wont affect sealing of the cap so im not sure if I should attempt to fix or just leave it be. I could probably solder it shut but the proper way would be to have a radiator shop install a brand new neck
|
|
|
My toys
1948 CJ2A 1959 CJ5 1952 M100 TRAILER |
|
|
|
|
Bruce W
Member 

Joined: 29 July 2005 Location: Northeast Colorado Status: Offline Points: 9652 |
Post Options
Thanks(0)
Quote Reply
Posted: 04 Mar. 2015 at 6:02am |
|
You definitely need more heat, so you get a bigger torch. Then, about the time you think you're making good progress, the hose neck falls clear off. As you are trying to get it stuck back on, you notice that the heat has migrated to the corner of the tank where the side strap is soldered on, and now the strap is loose. While you're trying to get it to stay in place, you notice that the solder in the joint between the tank and header has become liquefied. Soon, you will have a radiator KIT. Then you can take it to the radiator shop and let them put it back together for you. Notice the sign on the radiator shop wall that says, "Flat Rate: $40/Hr. If you watch, $50/Hr. If you help, $60/hr. If you already tried to fix it yourself, $75/Hr." BW
|
|
|
It is NOT a Jeep Willys! It is a Willys jeep.
Happy Trails! Good-bye, Good Luck, and May the Good Lord Take a Likin' to You! We Have Miles to Jeep, Before We Sleep. |
|
|
|
|
WorkInProgress
Member
Joined: 13 Nov. 2013 Location: Kennewick, WA Status: Offline Points: 829 |
Post Options
Thanks(0)
Quote Reply
Posted: 04 Mar. 2015 at 7:26am |
|
Though it doesn't look great the solder as is looks like it probably fixed the leak and looks like it will stay. Are you suggesting I leave it ugly as is and put it back in?
|
|
|
My toys
1948 CJ2A 1959 CJ5 1952 M100 TRAILER |
|
|
|
|
Anderson
Member
Joined: 16 June 2013 Location: Illinois Status: Offline Points: 159 |
Post Options
Thanks(0)
Quote Reply
Posted: 04 Mar. 2015 at 12:51pm |
|
If you leave it ugly, some day you may be called bubba. LOL. Since you posted pics, I assume you would like critique/suggestions. Looked like your prep was good. Appears to have about 4x the needed solder. Solder should fill the void in a crack or between two mated surfaces not look like a weld. I agree increase the heat and try again. When the area is hot enough the solder will melt and flow like water over the area that needed solder. Solder fills the void and creates a seal. Once that happens then trying to build up solder (welding) is counter productive. I applaud your effort. Disclaimer: I've soldered a lot of pipe over the years but am not a plumber.
|
|
|
|
|
67charger
Member

Joined: 27 Sep. 2011 Location: Kentucky Status: Offline Points: 1272 |
Post Options
Thanks(0)
Quote Reply
Posted: 04 Mar. 2015 at 1:03pm |
|
You might be able to get a putty knife or something flat that is metal and heat that solder up and smear it around and smooth it out.
|
|
|
|
|
Zuma58
Member
Joined: 10 Mar. 2011 Location: Vancouver, Wash Status: Offline Points: 383 |
Post Options
Thanks(0)
Quote Reply
Posted: 04 Mar. 2015 at 8:09pm |
|
You can also get a bottle of MAPP gas, it burns a bit hotter than propane gas, works great for copper pipe soldering
|
|
|
Steve
Long May You Run!!! |
|
|
|
|
WorkInProgress
Member
Joined: 13 Nov. 2013 Location: Kennewick, WA Status: Offline Points: 829 |
Post Options
Thanks(0)
Quote Reply
Posted: 04 Mar. 2015 at 8:16pm |
|
I just dropped it off at the radiator shop for the professional to do it. He said I didn't have it clean enough because to do it right pipe and bracket should be removed completely to clean and reinstall. They wanted $45 for those 2 things and I asked them to replace the messed up filler neck also. Totalling a quote of $90 said should be done by friday. Which is good because supposed to almost reach 70 degrees this weekend.
|
|
|
My toys
1948 CJ2A 1959 CJ5 1952 M100 TRAILER |
|
|
|
|
Post Reply
|
Page 12> |
| Tweet |
| Forum Jump | Forum Permissions You cannot post new topics in this forum You cannot reply to topics in this forum You cannot delete your posts in this forum You cannot edit your posts in this forum You cannot create polls in this forum You cannot vote in polls in this forum |


 Topic Options