


|
|
|
Grampa's Cj2a |
Post Reply 
|
Page <1 3132333435 40> |
| Author | |
smfulle 
Member 

Sponsor Member Joined: 16 Sep. 2010 Location: Ogden, Utah Status: Offline Points: 6140 |
 Post Options Post Options
") Thanks(0) Thanks(0)
 Quote Reply Quote Reply
 Posted: 08 Mar. 2021 at 4:17pm Posted: 08 Mar. 2021 at 4:17pm |
|
had a weird weekend trying to get the new motor in. Lot's of little issues came up that kept me from getting very far.
First off I learned that there are different size aligning pins on some flywheels. The flywheel of the engine coming out and that I had planned to use on the new engine, had smaller pins with nuts that are the same size as the other flywheel bolts. The new engine crankshaft had larger aligning pins so that they would not fit into my intended flywheel. Luckily I had the original flywheel from the rebuilt motor, but the ring gear was bad. So ring gear swap. I'd never done that before. Here's an Instagram video of what I did. Turn on the audio to hear me explain how I did it. So that held me up for an hour or so and finished out my Friday evening. Next, I put the new pilot bushing on the nose of my transmission input shaft and it slid right on, but once i knocked it into the flywheel it was too tight and the junk input shaft that I use for alignment wouldn't go in. My garage is not super equipped with stuff and the only thing I could think of to open the bushing up a little bit with was a piece of emery cloth rolled up. So I spent about 40 minutes twisting that rolled up emery cloth in the bushing until I could get that shaft into it. After that, I finally got the new clutch bolted on. Next issue, I went to install the new oil pump that the machine shop had sent and it would not go all the way in. I could not imagine what the deal was, brand new pump, spins fine, stops about 1.5-2 inches from seating. Finally I pulled the old pump out of the old engine to look at it. Gears slope the wrong way. The new pump is a chain drive application and I have a gear drive engine. Crap, Saturday afternoon, where am I going to get a correct pump and get on with this? I called my friend Dave Delight of Quick Draw Jeep Restorations. He does lots of war jeeps and I thought there might be a chance if he had a gear drive pump he might trade me. Halleluiah! He dug around under some other parts and junk and came up with a brand new pump. So off to Dave's place. He's about 35 minutes from my house and he has lots of cool jeeps and projects going all the time. He likes to talk about them and I like to hear about them, so about two hours lost going to Dave's to swap pumps with him. Next issue, I start to move stuff that is bolted to the top of the engine like the air filter cross over tube and the oil filter. The machine shop used head studs that were too short for any accessories to be bolted on using them. There just wasn't enough thread sticking out. So another hour shot swapping out about a half dozen head studs. Now it's 7:30. I haven't had any dinner and I am teaching a Sunday School class in the morning that I haven't even looked at and if I don't spend some time studying I'm going to be tap dancing instead of gospel teaching. Needless to say, the engine is still sitting on the floor. |
|
 |
|
|
LuzonRed47
Member

Joined: 11 Apr. 2007 Location: Plymouth, MI Status: Offline Points: 842 |
Post Options
Thanks(0)
Quote Reply
Posted: 08 Mar. 2021 at 4:42pm |
|
Stan, thanks for the primer on installing a ring gear onto a Willys flywheel.
But, how did you get the old ring gear off? |
|
|
CJ2A #140275 "Ziggie" (purchased new by my dad in 1947)
ACM #124334 CJ3A windshield, Warn Overdrive 1953 Strick M100 trailer Serial #18253 |
|
|
|
|
smfulle
Member
Sponsor Member Joined: 16 Sep. 2010 Location: Ogden, Utah Status: Offline Points: 6140 |
Post Options
Thanks(0)
Quote Reply
Posted: 08 Mar. 2021 at 4:46pm |
I used a hammer and a big blunt nose punch. Start knocking around the ring a bit at a time. Didn't take long to work it off.
|
|
|
|
|
drm101
Member

Joined: 12 Dec. 2012 Location: Clarkston, MI Status: Offline Points: 1469 |
Post Options
Thanks(0)
Quote Reply
Posted: 08 Mar. 2021 at 5:51pm |
|
I thought I was the only one! You're making progress. Won't be long now.
|
|
|
Dean
'47 CJ2A "Mud Hen" The less the Power the More the Force |
|
|
|
|
Nothing Special
Member
Joined: 02 Feb. 2018 Location: Roseville, MN Status: Offline Points: 843 |
Post Options
Thanks(0)
Quote Reply
Posted: 08 Mar. 2021 at 9:57pm |
Wow, that was boring. That's the best kind of unexpected project! Thanks for sharing!
|
|
|
|
|
uncamoney
Member
Joined: 26 June 2019 Location: greeley co Status: Offline Points: 451 |
Post Options
Thanks(0)
Quote Reply
Posted: 08 Mar. 2021 at 10:05pm |
|
Don't worry. I've done the change too. Nothing exciting about the repair.
|
|
|
john
|
|
|
|
|
smfulle
Member
Sponsor Member Joined: 16 Sep. 2010 Location: Ogden, Utah Status: Offline Points: 6140 |
Post Options
Thanks(0)
Quote Reply
Posted: 11 Mar. 2021 at 8:56pm |
|
Well, it’s still hanging in the chain and not connected to anything, but at least it’s in its hole. 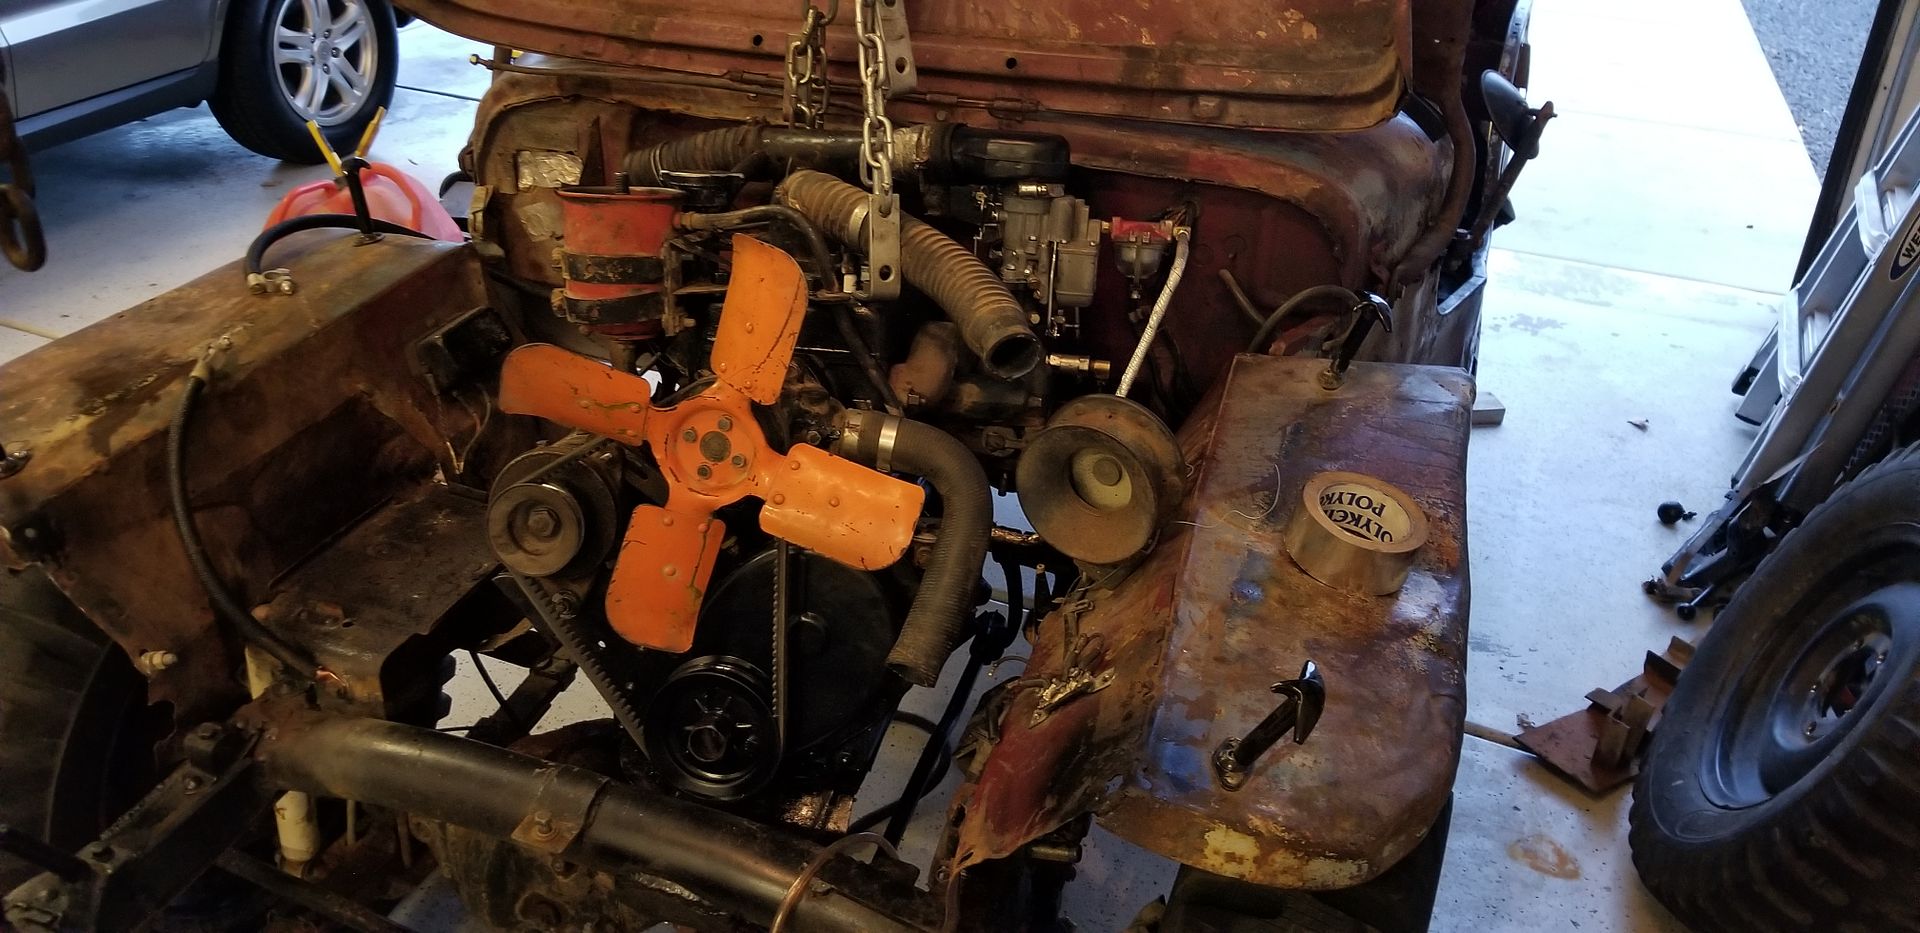 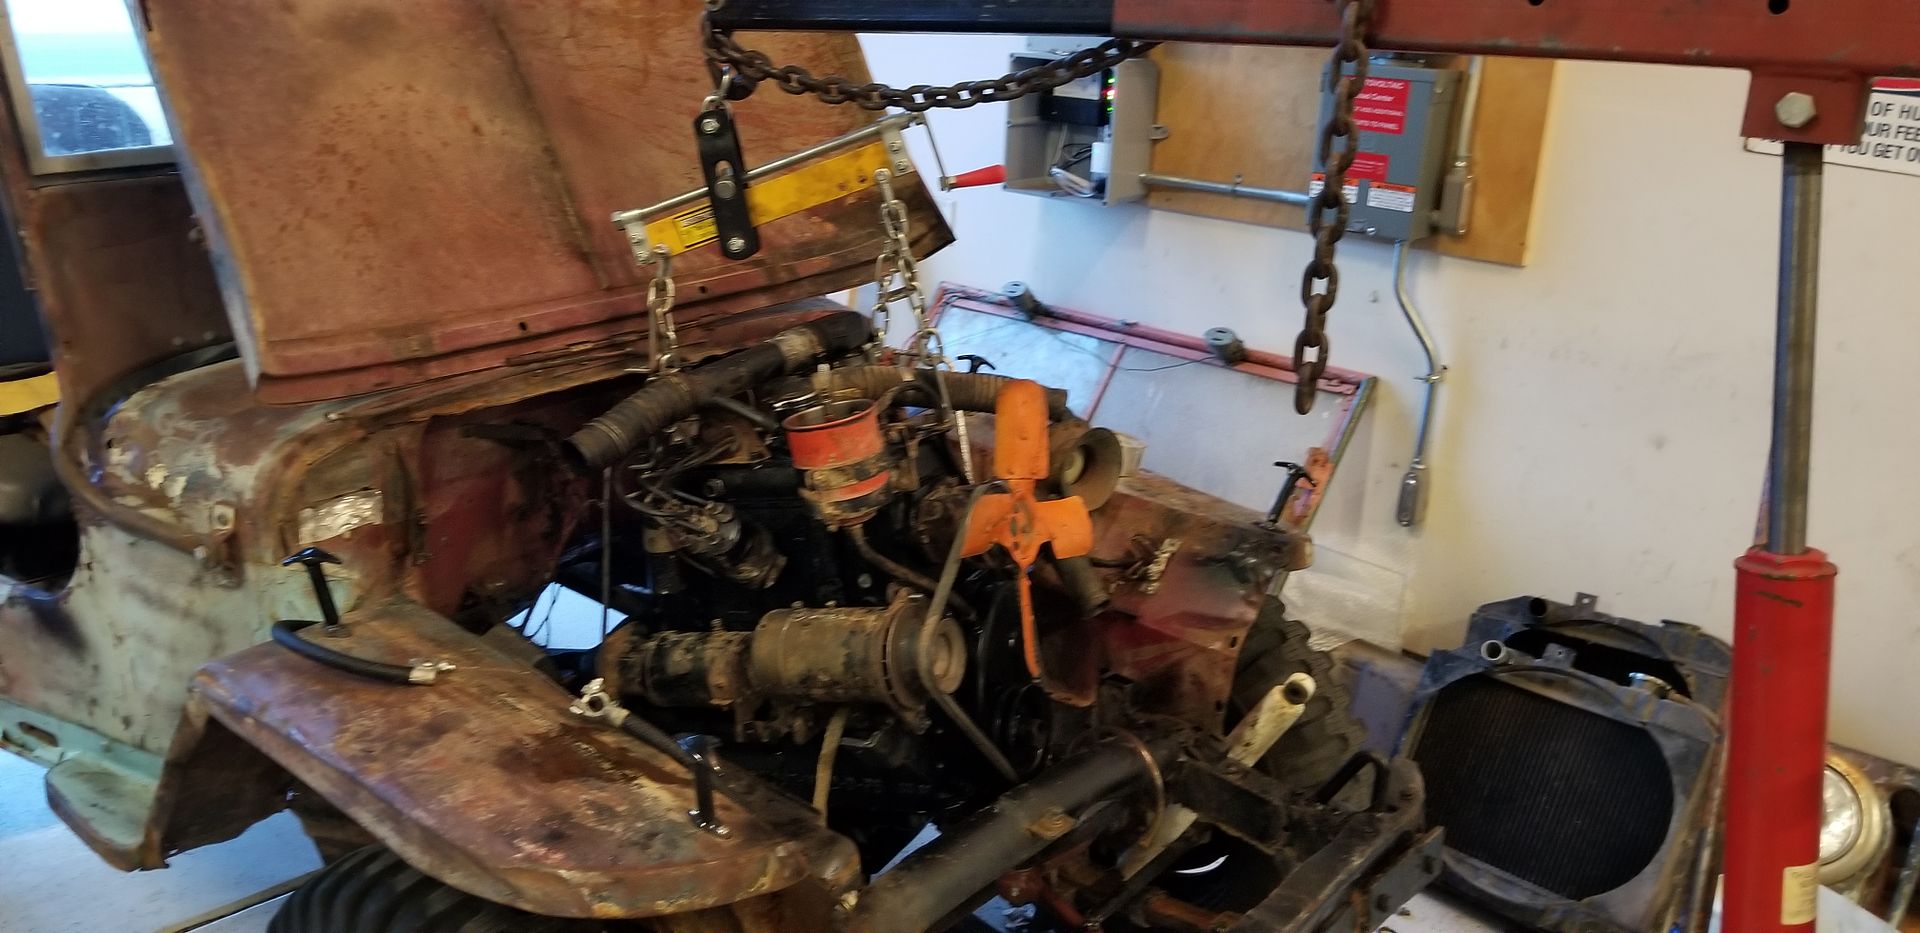 |
|
|
|
|
dasvis
Member

Sponsor Member Joined: 07 Sep. 2019 Location: Salem, Oregon Status: Online Points: 1544 |
Post Options
Thanks(0)
Quote Reply
Posted: 04 May 2021 at 8:00am |
|
It's May already. What's the latest?
 |
|
|
1947 CJ2A #88659 "Rat Patrol"
1953 CJ3A #453-GB1 11266 "Black Beauty" 1964 Thunderbird convertible ..... & one of them moves under it's own power!! |
|
|
|
|
smfulle
Member
Sponsor Member Joined: 16 Sep. 2010 Location: Ogden, Utah Status: Offline Points: 6140 |
Post Options
Thanks(0)
Quote Reply
Posted: 04 May 2021 at 1:30pm |
Went to Moab for two weeks bracketing Easter. Ran ok but I had some vapor lock issues. More on that later. |
|
|
|
|
smfulle
Member
Sponsor Member Joined: 16 Sep. 2010 Location: Ogden, Utah Status: Offline Points: 6140 |
Post Options
Thanks(0)
Quote Reply
Posted: 05 May 2021 at 10:32am |
|
Regarding vapor locking:
I started having this trouble intermittently a bit over a year ago. Happened most often at high altitude and on steep climbs. Things I've done 1. Replaced all fuel lines and the tank. 2. Insulated the fuel line from the tank forward to the carb except the rubber piece from the fender tothe fuel pump. 3. Installed a return line from just before the carb to the tank using a (I think) CJ5 fuel filter with a 2nd smaller outlet for the return. This things helped some, but I still had trouble. At one point I opened the hood and poured some fuel down the carb throat that immediately boiled right in the throat. This was in Moab, on Hell's Revenge, and not a handy place to work on stuff. Ran a coup[le of more trails in the next two days without any trouble, but that boiling in the throat got me thinking that my problem is a hot carburetor rather than hot fuel lines or pump. I checked the function of the heat riser and it was closing as designed when up to operating temp, so I pulled the manifolds to make sure it wasn't broken or rusted off inside the manifold. Everything was there and working fine. i did notice that if the shaft slid far enough in a certain direction that the weight could hang up on the spring stop bracket and not close properly. I am not convinced that this was the problem, but maybe. While I had it all apart I decided to add a "heat sink" under the carburetor made up of 3 aluminum plates separated by a paper gasket. Here's a video of what I'm doing. It works fine around town. I'm headed to the Willys Rally in Moab in a couple of weeks and then we'll see how it does on a hot trail ride.
|
|
|
|
|
Bill2A
Member

Joined: 01 Mar. 2018 Location: Fort Worth, Tex Status: Offline Points: 517 |
Post Options
Thanks(0)
Quote Reply
Posted: 06 May 2021 at 9:20pm |
|
Stan you might try double or thicker gaskets between the heat shield layers.
That would allow air between layers to act as cooling fins.
|
|
|
1946 CJ2A 14098
|
|
|
|
|
smfulle
Member
Sponsor Member Joined: 16 Sep. 2010 Location: Ogden, Utah Status: Offline Points: 6140 |
Post Options
Thanks(0)
Quote Reply
Posted: 10 May 2021 at 9:01pm |
|
Here’s how the heat sink/shield looks on the engine. I bent the plates open a little to hopefully allow some air in to carry off some heat.
 |
|
|
|
|
smfulle
Member
Sponsor Member Joined: 16 Sep. 2010 Location: Ogden, Utah Status: Offline Points: 6140 |
Post Options
Thanks(0)
Quote Reply
Posted: 10 May 2021 at 9:04pm |
|
Here’s the return line coming out of the filter with two outlets.
 Here’s the return connection on the tank.  |
|
|
|
|
Bill2A
Member
Joined: 01 Mar. 2018 Location: Fort Worth, Tex Status: Offline Points: 517 |
Post Options
Thanks(0)
Quote Reply
Posted: 11 May 2021 at 12:24pm |
|
That looks like it might help.
With the return line on top, any vapor that might be present there can vent to the tank and not create back pressure. I wonder if you will lose any significant amount of fuel pressure or flow to the carb. An inline filter on the return line might more or less equal the restriction of the inlet valve. I expect you will find out if you still have plenty of flow once you try it.
|
|
|
1946 CJ2A 14098
|
|
|
|
|
flatfender47
Member
Sponsor Member Joined: 09 Jan. 2006 Location: Riverside CA Status: Offline Points: 646 |
Post Options
Thanks(0)
Quote Reply
Posted: 11 May 2021 at 2:57pm |
|
I can imagine vacuum leaks around the base of the carb with that set-up.
|
|
|
1947 CJ2A 225V6 SM420 D30 PLok/D44 D/Locker Warn OD 5:38s
|
|
|
|
|
smfulle
Member
Sponsor Member Joined: 16 Sep. 2010 Location: Ogden, Utah Status: Offline Points: 6140 |
Post Options
Thanks(0)
Quote Reply
Posted: 11 May 2021 at 3:11pm |
Me too. I cut some gaskets out of gasket material to go between each layer. I also sprayed copper coat on each one during assembly. So far, so good.
|
|
|
|
|
ggordon49
Member

Sponsor Member Joined: 30 June 2017 Location: Connecticut Status: Offline Points: 1436 |
Post Options
Thanks(0)
Quote Reply
Posted: 11 May 2021 at 4:45pm |
|
I have heard you can place clothespins on steel fuel lines for heatsinks, not sure if that old legend actually works? I wonder about aluminum clothespin, I'm sure they would work even better as insulators

|
|
|
- Don't Let The Fatherless Ones Grind You Down -
- I like them stock, survivor's with original paint are my favorites - |
|
|
|
|
flatfender47
Member
Sponsor Member Joined: 09 Jan. 2006 Location: Riverside CA Status: Offline Points: 646 |
Post Options
Thanks(0)
Quote Reply
Posted: 11 May 2021 at 5:30pm |
|
You could also try spacers (washers) between the hood hinge and the cowl which would make a larger gap for hot air to escape the engine compartment.
|
|
|
1947 CJ2A 225V6 SM420 D30 PLok/D44 D/Locker Warn OD 5:38s
|
|
|
|
|
Post Reply
|
Page <1 3132333435 40> |
| Tweet |
| Forum Jump | Forum Permissions You cannot post new topics in this forum You cannot reply to topics in this forum You cannot delete your posts in this forum You cannot edit your posts in this forum You cannot create polls in this forum You cannot vote in polls in this forum |


 Topic Options
 LuzonRed47 wrote: