


|
|
|
Project Yancy 46 CJ2a |
Post Reply 
|
Page <12345 7> |
| Author | |
ovrlnd 
Member 

Joined: 18 Feb. 2008 Location: MIchigan Status: Offline Points: 1746 |
 Post Options Post Options
") Thanks(0) Thanks(0)
 Quote Reply Quote Reply
 Posted: 27 Feb. 2009 at 2:11pm Posted: 27 Feb. 2009 at 2:11pm |
I called walcks and asked what he would recommend. He recommended the harness with turn signals. I run 12 volt but the harness is built for 6v so no issues there. Last night I started going through the harness and labeling the ends with tags. I was hoping after this I would enjoy wiring a little more than I do  but my head is still spinning and the harness looks like Minnie Pearl but my head is still spinning and the harness looks like Minnie Pearl  Carl did say that if I chose not to use the turn signals it wouldn't be a big deal. Carl did say that if I chose not to use the turn signals it wouldn't be a big deal.thanks for the compliment on the bodywork. it's a learn as I go process and the fenders, grill, hood and windshield all came out great. I am a bit more critical of the tailgate and may have to go back and do some more on it. for the primer I have been using a black rust converter on the bare metal then priming with a red auto primer then over with the O.D. yes I have the 00 xj and the other jeep in the garage is my 88YJ with the 350/350/300 scout II axles on the 35's. the yj was my first jeep.  should have more update images soon.
|
|
 |
|
|
ovrlnd
Member
Joined: 18 Feb. 2008 Location: MIchigan Status: Offline Points: 1746 |
Post Options
Thanks(0)
Quote Reply
Posted: 06 Mar. 2009 at 7:09pm |
|
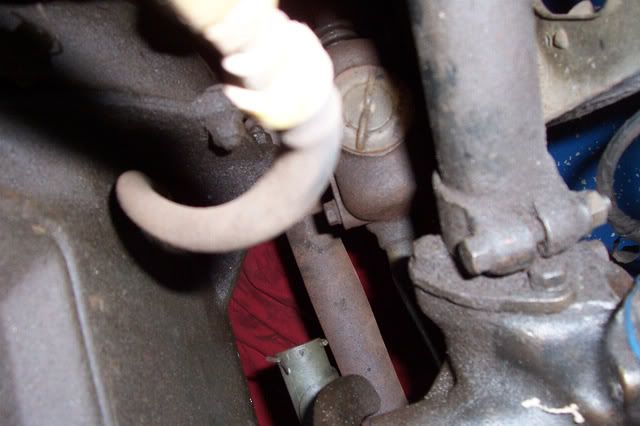
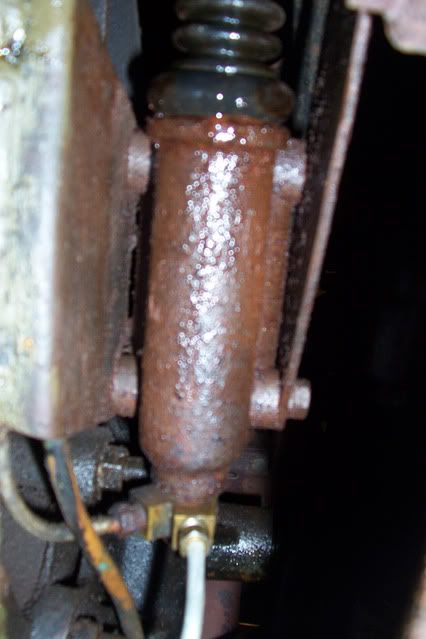
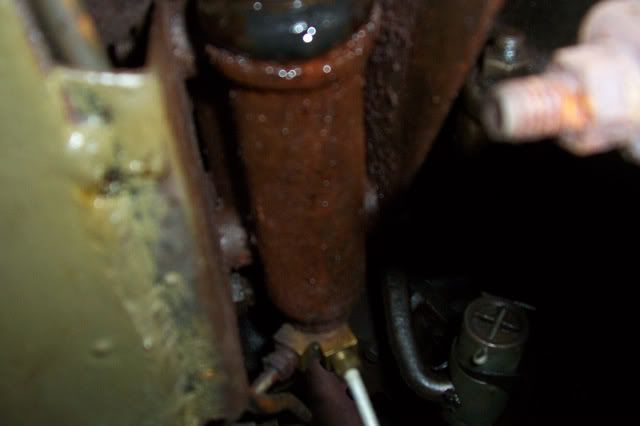
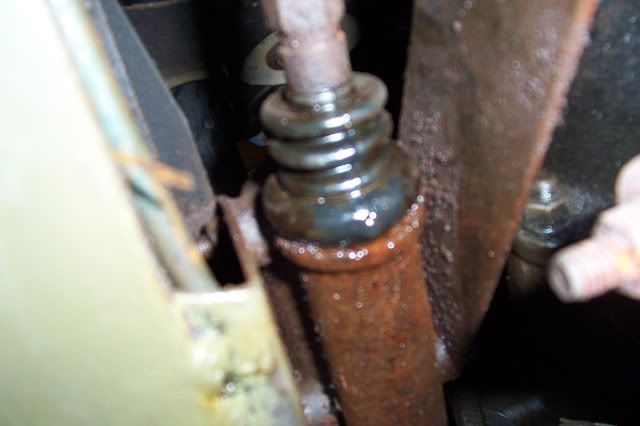
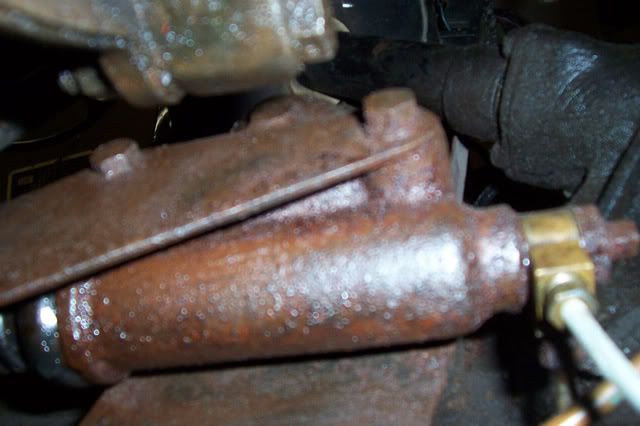
Last weekend/week it was time to remove the master cyl. and do a rebuild. it appeared to be leaking from the rear piston seal so out it came
before:


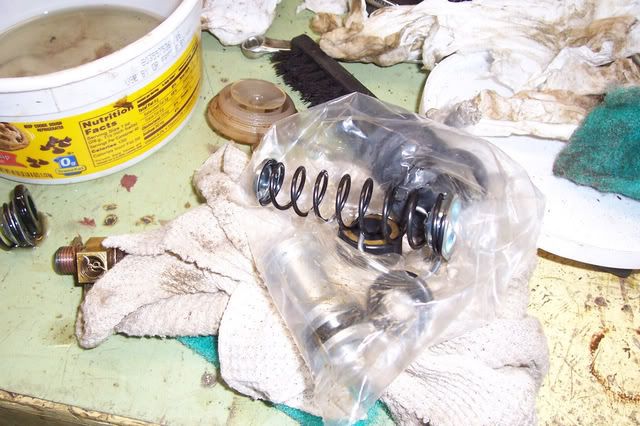
 rebuild kit arrived just in time
 some of the last grill work here.
installing the new grill to hood welting
some of the last grill work here.
installing the new grill to hood welting
 test fitting that
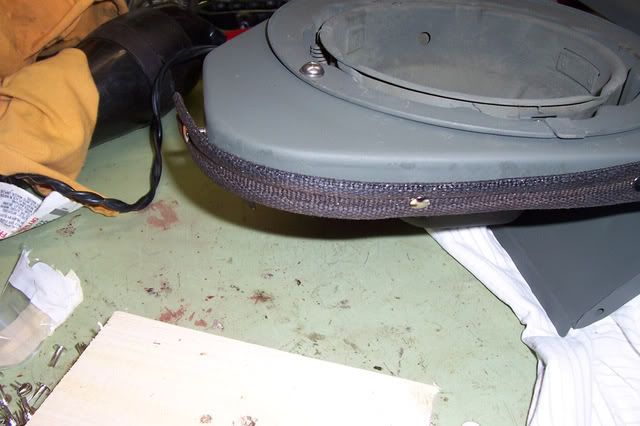
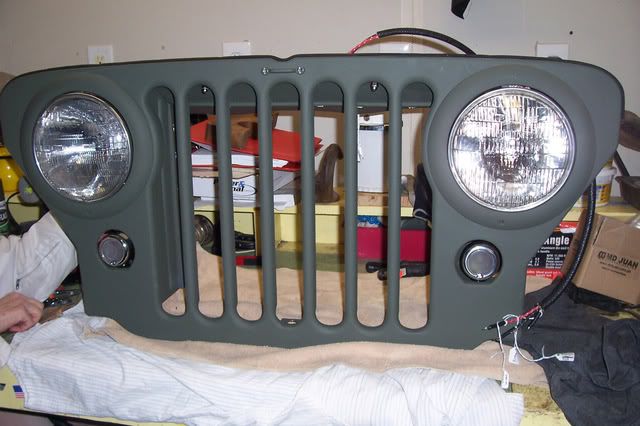
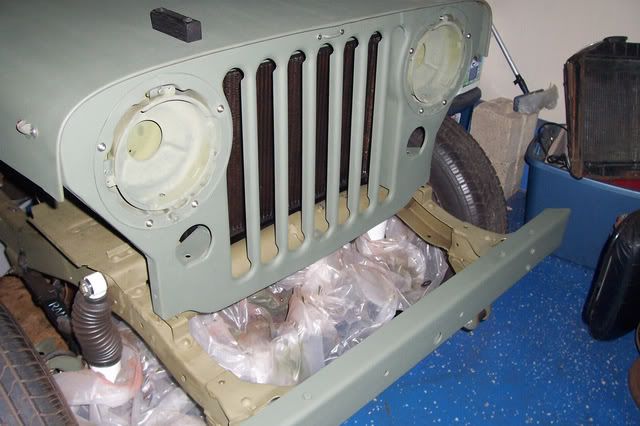 on to installing the grill to radiator welting from beachwood canvas with stainless steel wire and the new parking lights and grill harness.

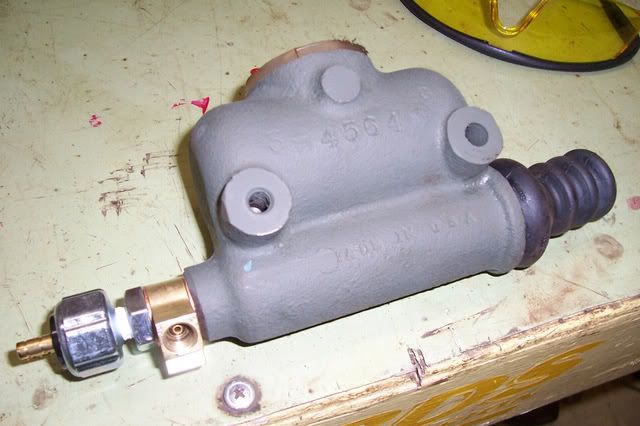
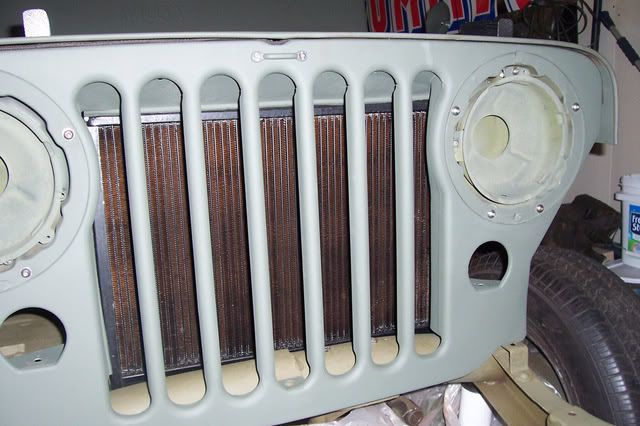
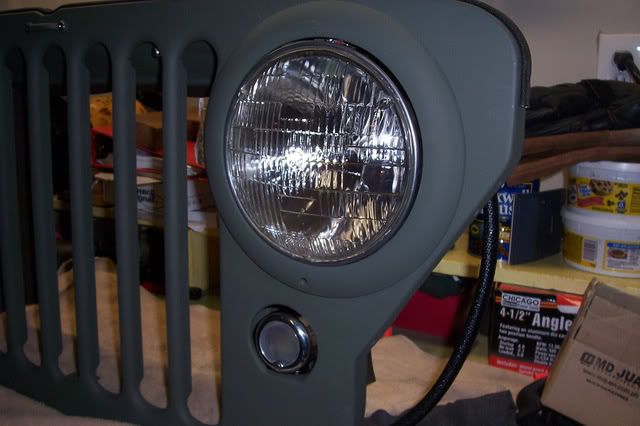
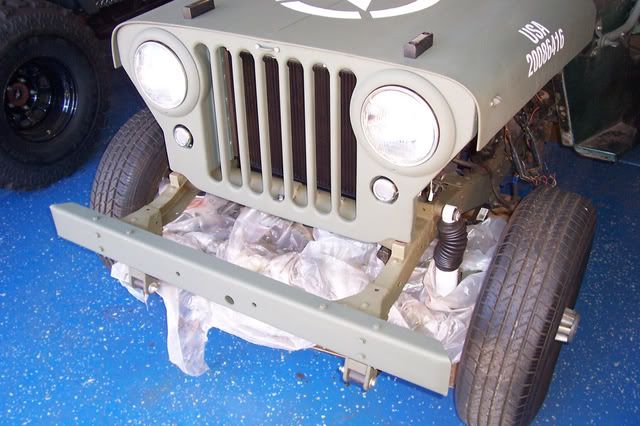
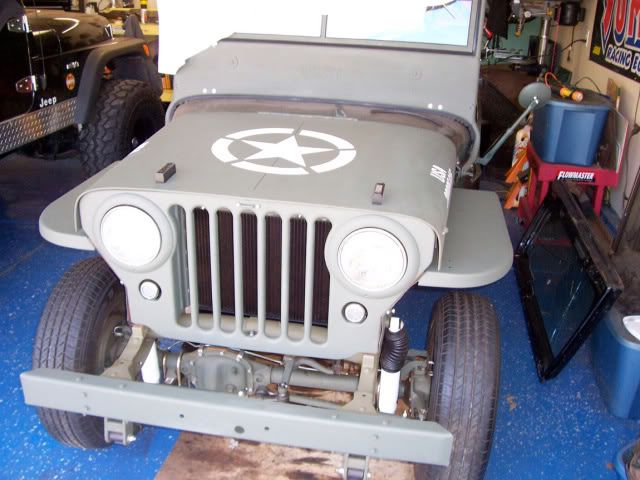
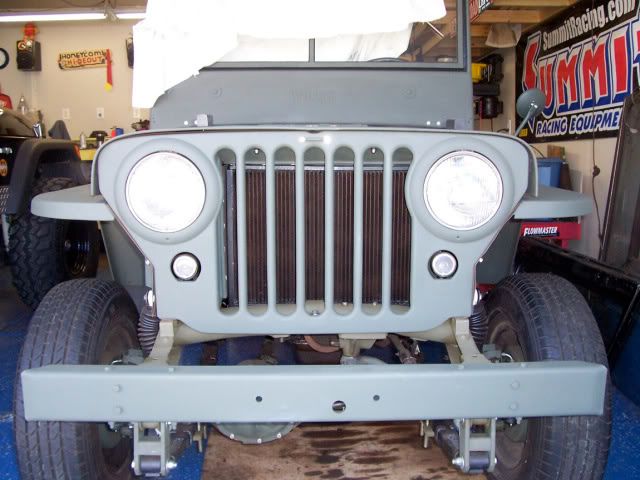
 Images of the grill on the bench after
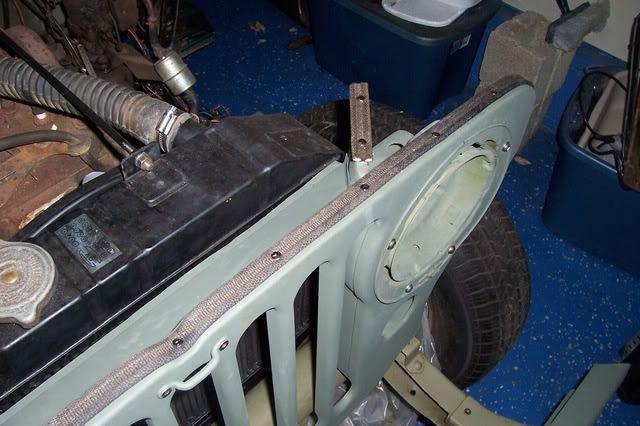
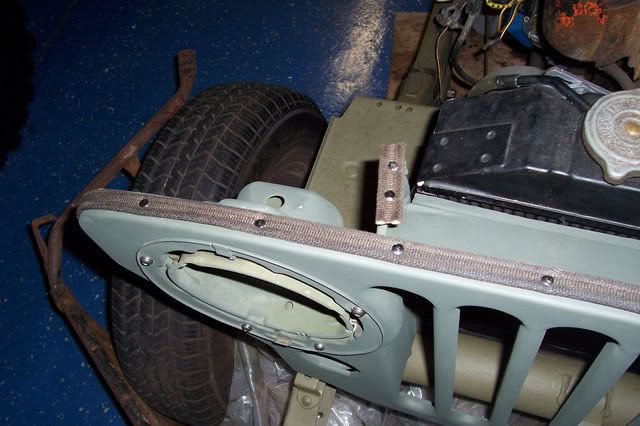
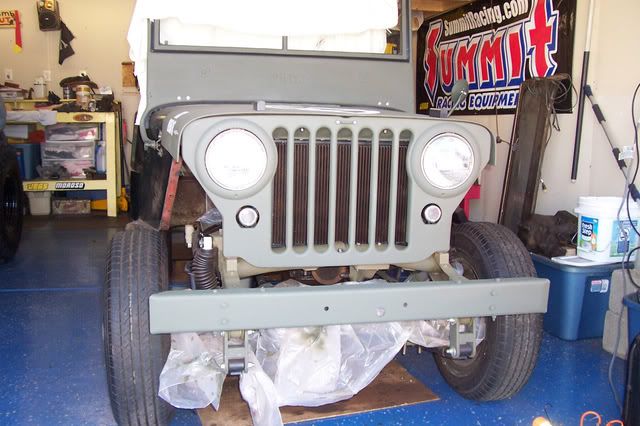
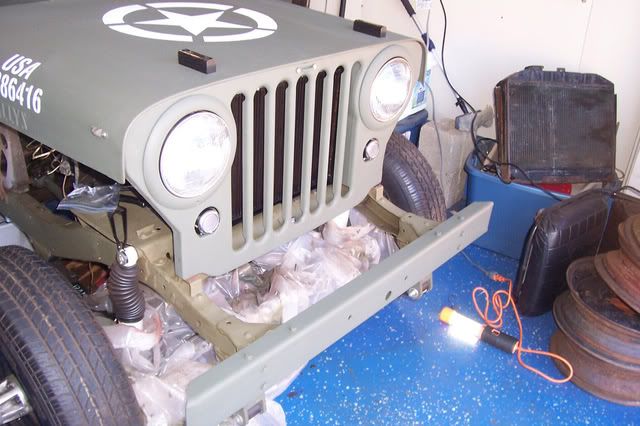
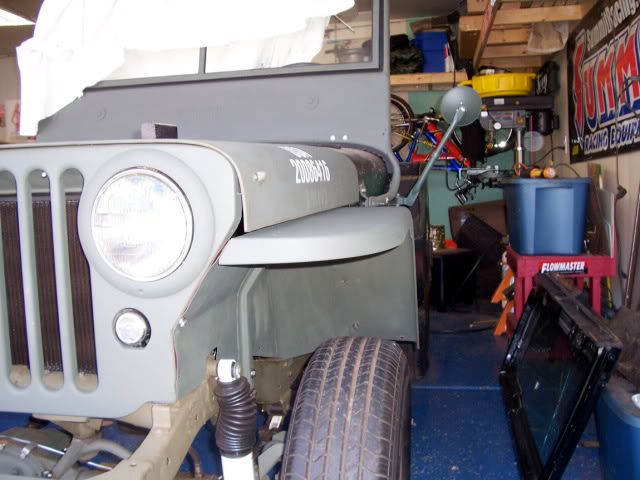
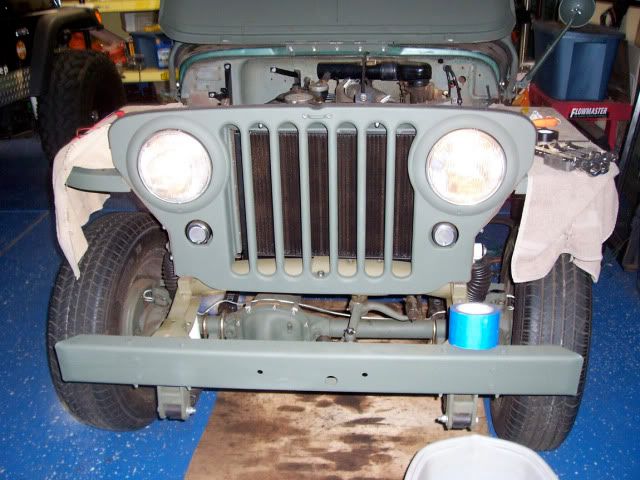
 and how it looks bolted to the front of yancy
|
|
|
|
|
berettajeep
Member

Sponsor Member Joined: 03 Feb. 2009 Location: Astoria OR Status: Offline Points: 4304 |
Post Options
Thanks(0)
Quote Reply
Posted: 06 Mar. 2009 at 8:20pm |
|
Very nice!

|
|
|
|
|
ovrlnd
Member
Joined: 18 Feb. 2008 Location: MIchigan Status: Offline Points: 1746 |
Post Options
Thanks(0)
Quote Reply
Posted: 12 Apr. 2009 at 3:21am |
|
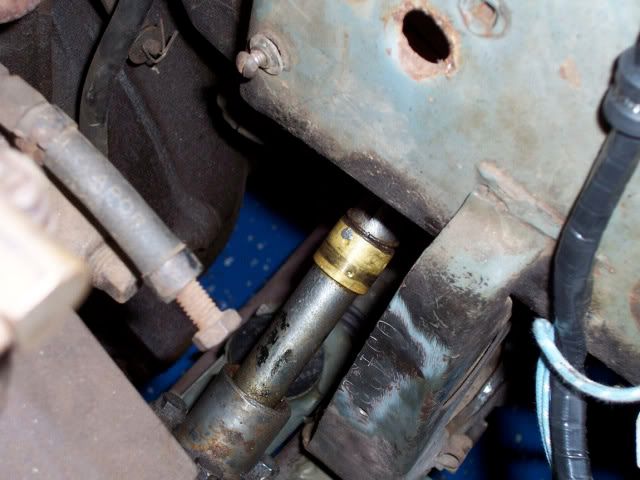
I have been making good progress. there was a small setback with the master cylinder leaking from the copper washer between the Y fitting and the m/c. I had put two new washers in there to no avail. I had to pull it back out and found what I believe was a casting flaw and caused a section of the sealing face to be raised. I took some fine emery cloth and flattened the area, cleaned it, annealed the washers, put it all back together and bench bled it again and waited for leaks. none formed so I put it back in and it has not leaked a drop since.
I removed the transmission crossmember and striped it and repainted it along with the trans plate and scrapped the gelled trans mount bushing for a brand new unit. the transfer case bushing was in nice shape so it got cleaned up and reinstalled. a few days later I put that back in with all new grade 8 bolts.

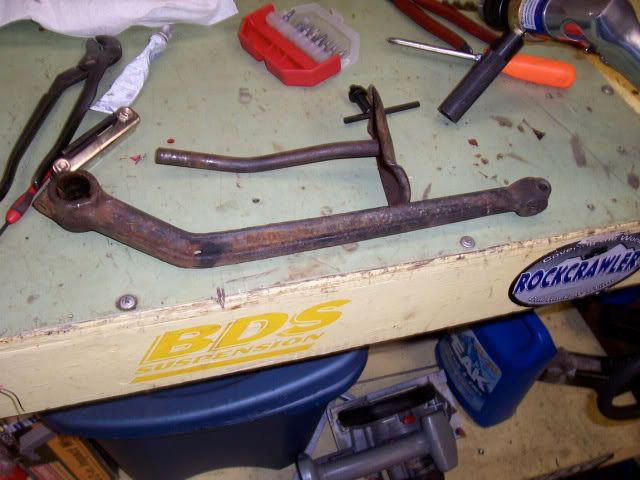
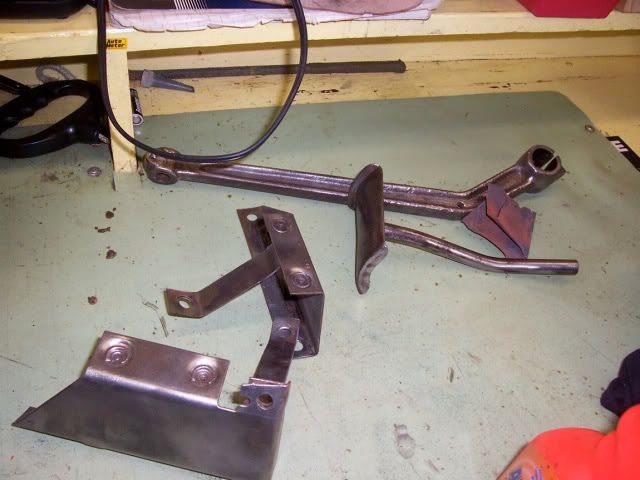
 I also removed the clutch pedal arm and both pedals for refinishing. I have all new return springs for the arms when it goes back together.
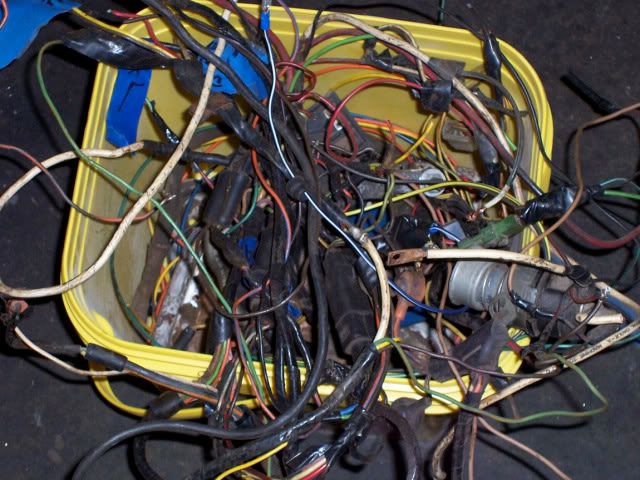
 Then it was time to remove all the existing wiring
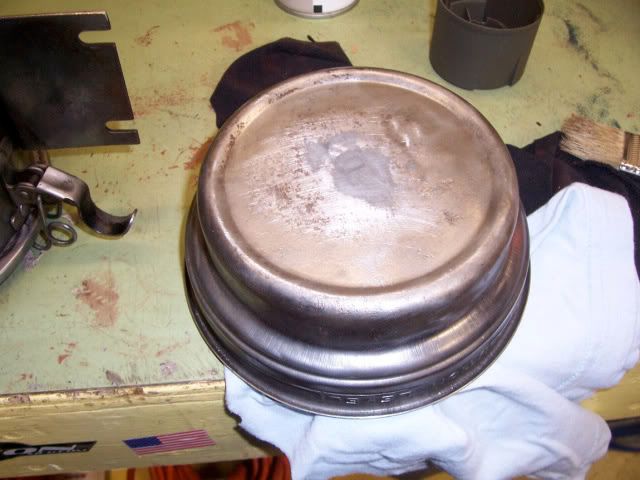
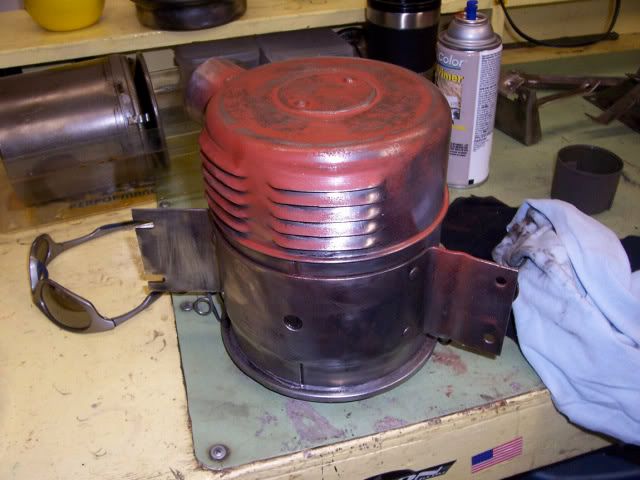
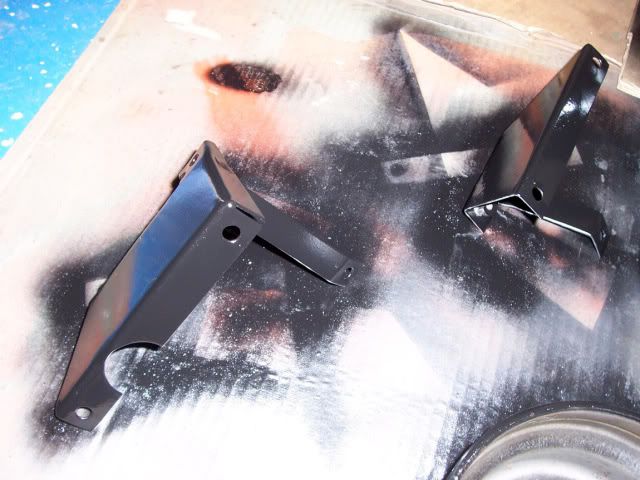
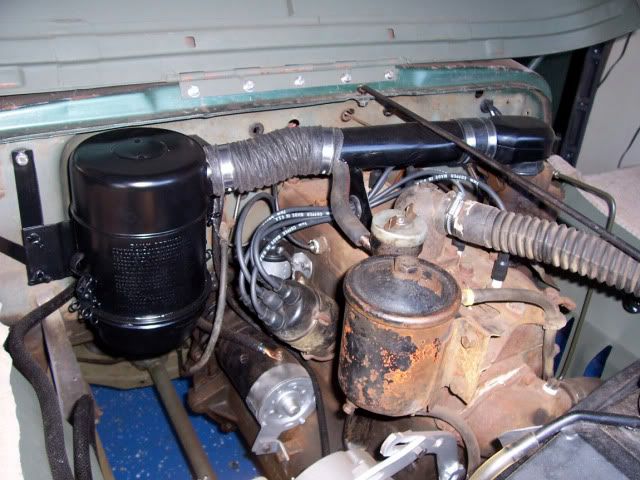
 I needed some room before starting to re-wire so I figured it was a good time to pull the air cleaner assembly and refinish that with it's brackets. I was in overall good shape but there was an oil tube added which i removed and welded up. some minor rusting on the top of it and there was some bondo on bottom pan. I removed the bondo on the pan and discoverd a few holes. I tacked them up from the inside and sealed it with JB weld and sanded smooth and perfomed a 3 day leak test which showed no problems. I then stripped the entire cleaner and hit the top with some high fill primer and sanded that to fill the pitting smooth. Primed the unit with black primer and then painted it with black semigloss engine enamel. The pics don't really do it justice but I am really happy with the results and it looks fantastic.


 Then it was on to start the rewiring. I went to install the fenders and it was then I realized that I had ordered the wrong size stainless bolts for the fender to tub:confused:, so i used some of the fender to grill bolts to get the fenders in place and lined up.

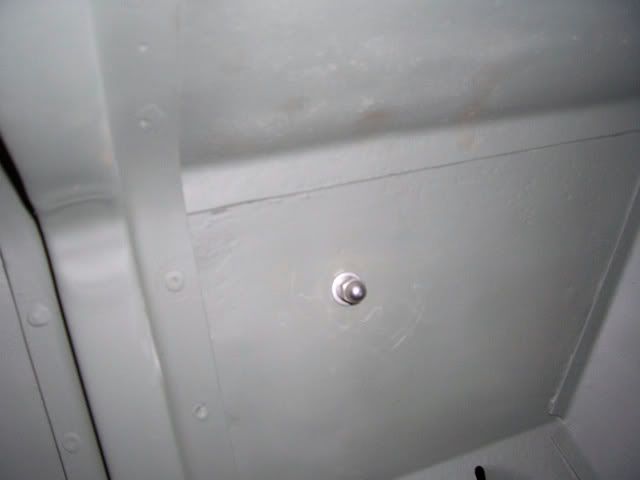
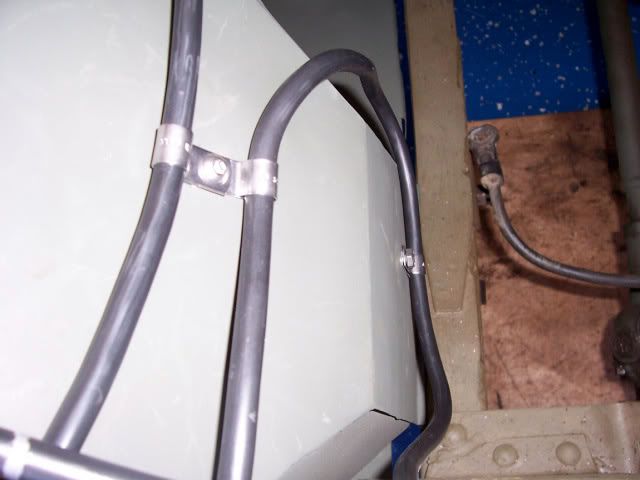
 for the grill mount wire clips I tapped the hole in the grill tab to 1/4-20 and fastened them down with a stainless socket cap.
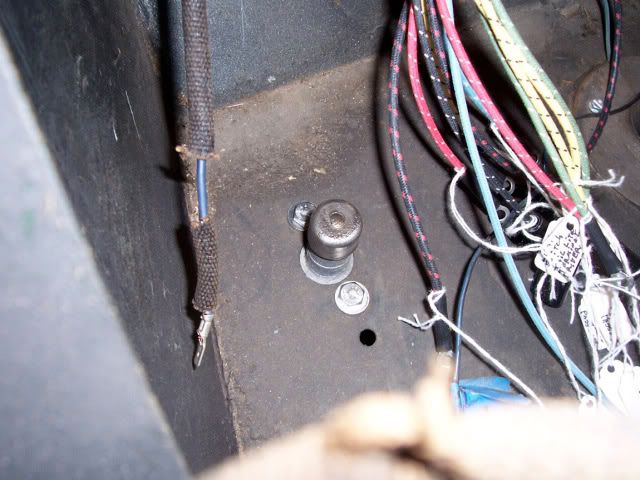
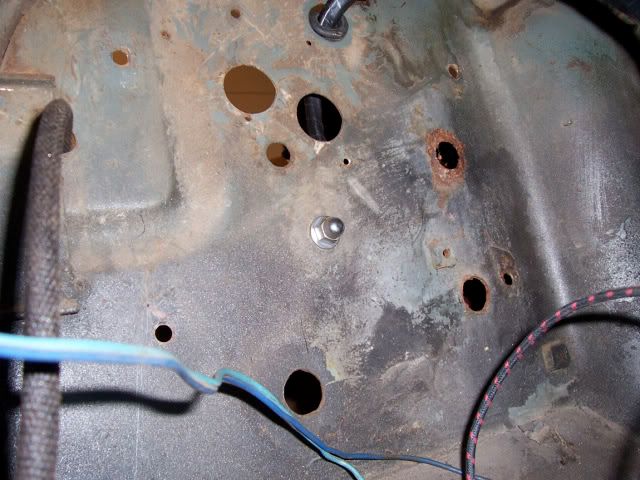
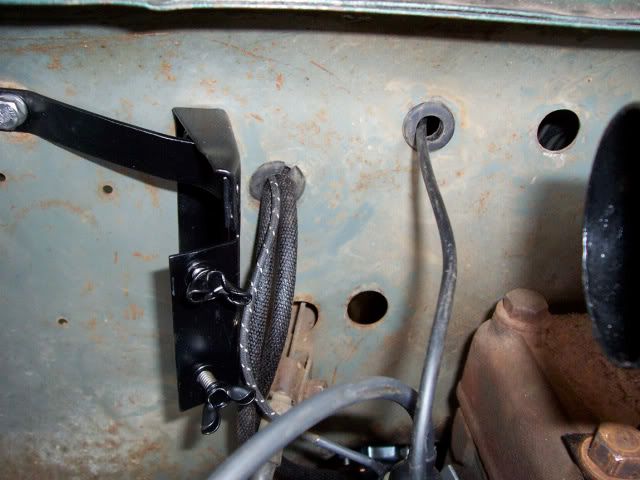
 then pulled out the hi beam foot switch out, cleaned it on the bench wheel and connected the wires then reinstalled with new stainless bolts and washers.

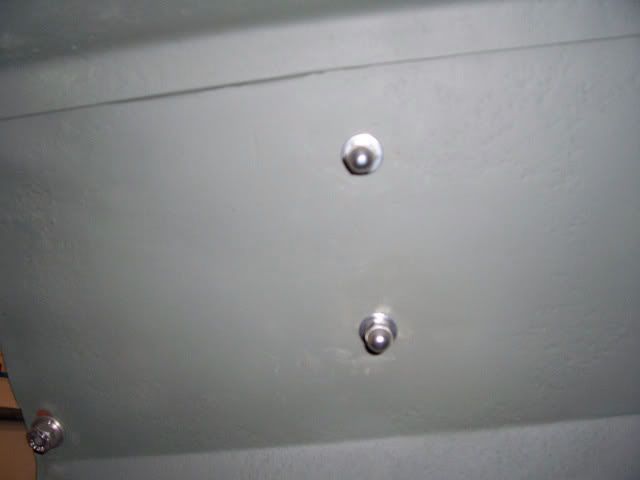
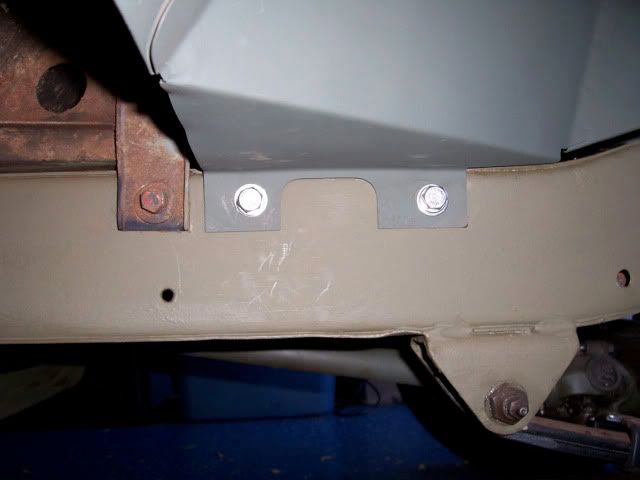
 then marked, drilled and mounted the fender junction block. I decided that on any of the bolts running through the fenders or firewall I would use button heads and acorn nuts with the lock washers. It looks really nice.
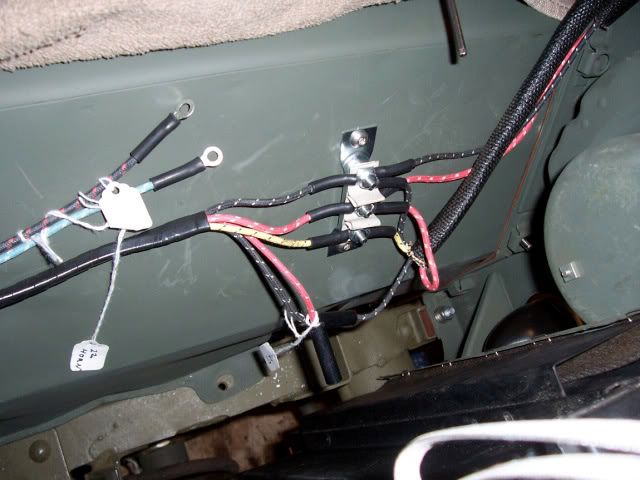
 routing the harness along the fender

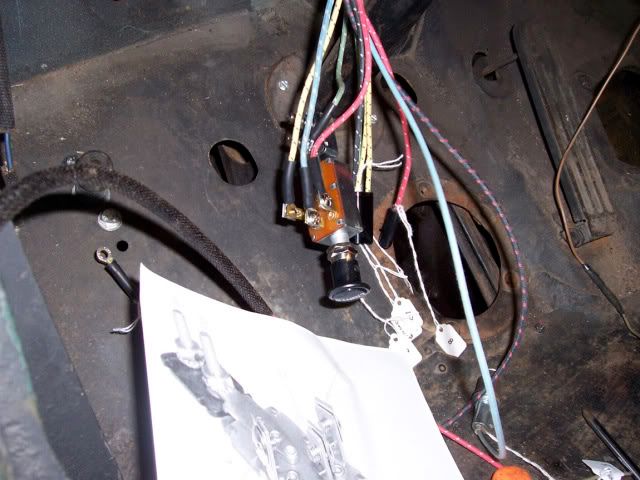
 wiring up the new light switch
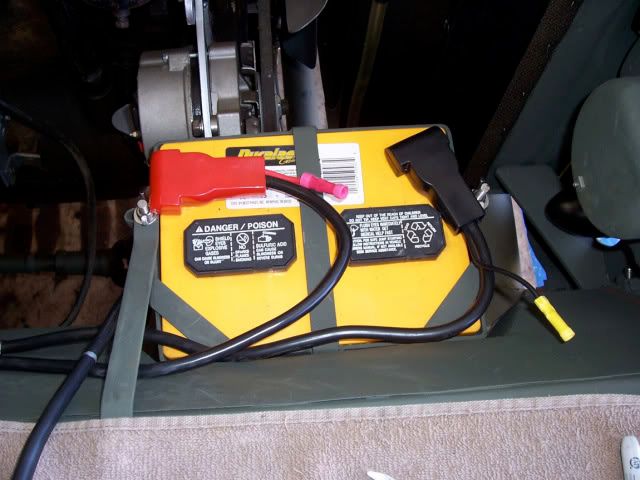
 then installed the battery for fit and to take measurements for the length of battery cables I'll need

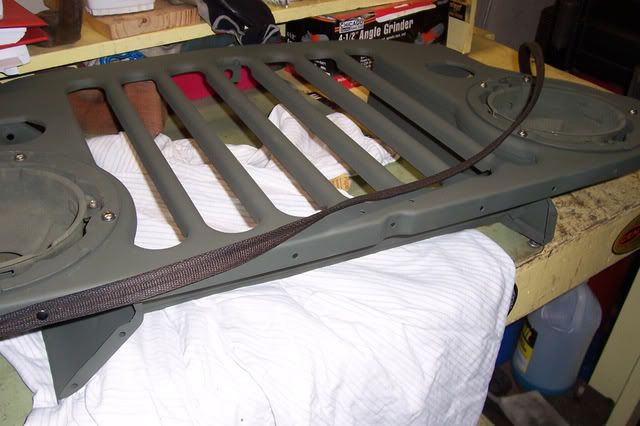
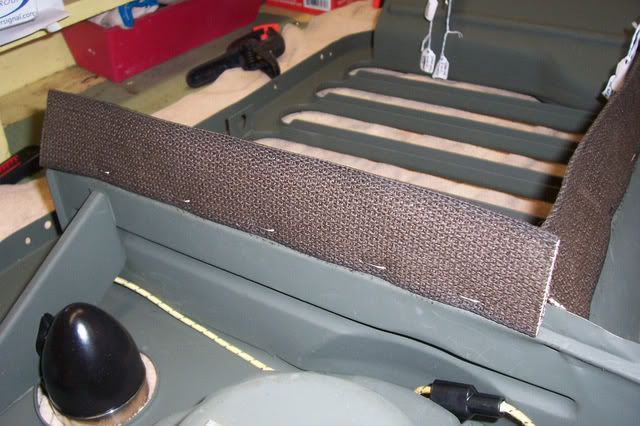
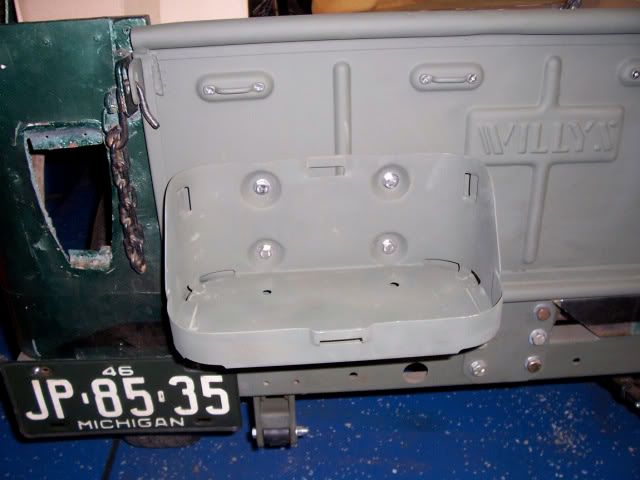
 then got on finishing up the tailgate.
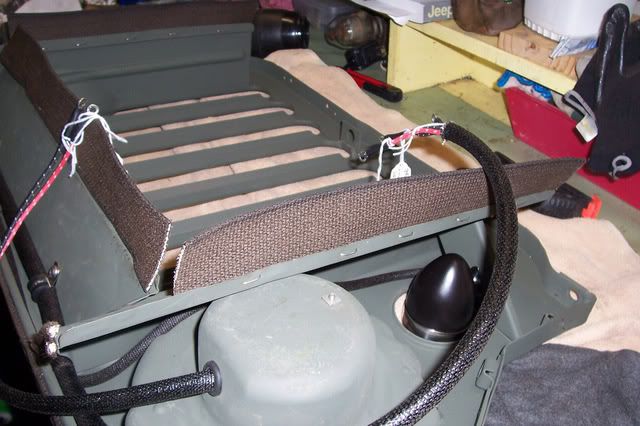
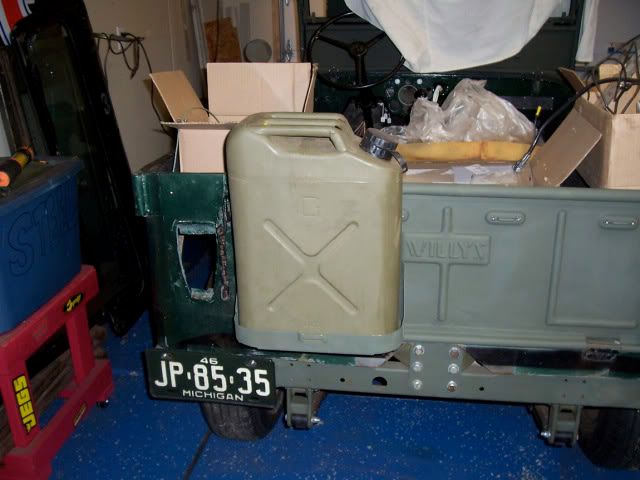
 mounted up the jerry can holder. I used 3/8" stainless bolts with neoprene washers between the holder and the tailgate.

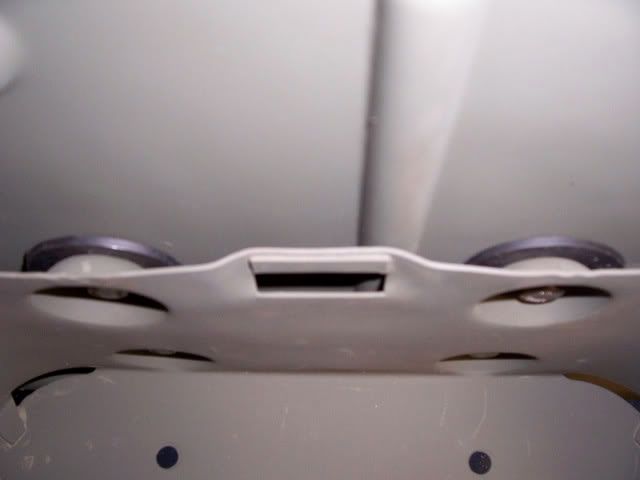
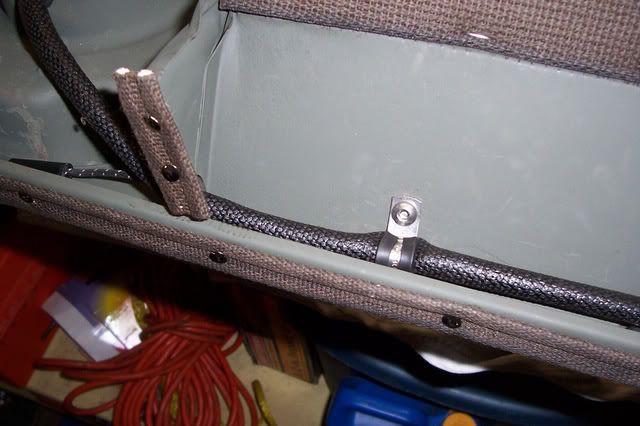
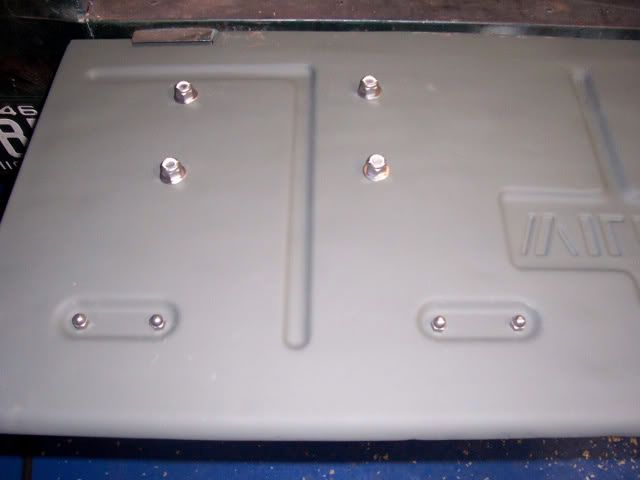 and finally installed the tailgate footman loops.
 stay tuned for more.:thumb:
|
|
|
|
|
Jeepete
Member

Joined: 20 Apr. 2007 Location: S.E. Michigan Status: Offline Points: 77 |
Post Options
Thanks(0)
Quote Reply
Posted: 12 Apr. 2009 at 4:13am |
|
Wow - I wish I could make that much progress in such a short time ! Where are you in Michigan ? I live over by DTW Metro airport.
Regards, Pete |
|
|
47 V8 2a In progress
51 M38 on a 3A running chassis 52 M-100 trailer 68 Mustang Fastback (My 1st car...still have it) |
|
|
|
|
ovrlnd
Member
Joined: 18 Feb. 2008 Location: MIchigan Status: Offline Points: 1746 |
Post Options
Thanks(0)
Quote Reply
Posted: 12 Apr. 2009 at 4:33am |
well all that work took place over the last 3 weeks or so. the tailgate was partially done at the start of winter.I am in westland mich. ave and 275 area. you're close by
|
|
|
|
|
Jeepete
Member
Joined: 20 Apr. 2007 Location: S.E. Michigan Status: Offline Points: 77 |
Post Options
Thanks(0)
Quote Reply
Posted: 12 Apr. 2009 at 4:40am |
|
Cool - You're probably the closest Flattie friend to me , I'm just off 275 in Huron Township.
|
|
|
47 V8 2a In progress
51 M38 on a 3A running chassis 52 M-100 trailer 68 Mustang Fastback (My 1st car...still have it) |
|
|
|
|
Scott R
Member
Joined: 16 Mar. 2007 Location: Gaines, MI Status: Offline Points: 1392 |
Post Options
Thanks(0)
Quote Reply
Posted: 12 Apr. 2009 at 2:58pm |
|
You guys are near my in-law.
ovrlnd, been a few months since I've checked your progress here... Looking good!
If you don't mind I have a couple questions. Can't tell from the pics but did you bolt or rivet the front bumber on?
Second question: The repair on the tailgate... where did you get the replacement piece, did you make it?
|
|
|
|
|
Jeepete
Member
Joined: 20 Apr. 2007 Location: S.E. Michigan Status: Offline Points: 77 |
Post Options
Thanks(0)
Quote Reply
Posted: 12 Apr. 2009 at 3:47pm |
|
Thanks for the tip on the May event. PM sent
Pete |
|
|
47 V8 2a In progress
51 M38 on a 3A running chassis 52 M-100 trailer 68 Mustang Fastback (My 1st car...still have it) |
|
|
|
|
ovrlnd
Member
Joined: 18 Feb. 2008 Location: MIchigan Status: Offline Points: 1746 |
Post Options
Thanks(0)
Quote Reply
Posted: 12 Apr. 2009 at 4:11pm |
|
scott, I used bolts on the front bumper. The ones I pulled off the old one were through top to bottom. I have since thought about removing them and using shorter bolts w/nuts because I am not sure that I like the long bolts.
the tailgate is a bit of a sore subject with me
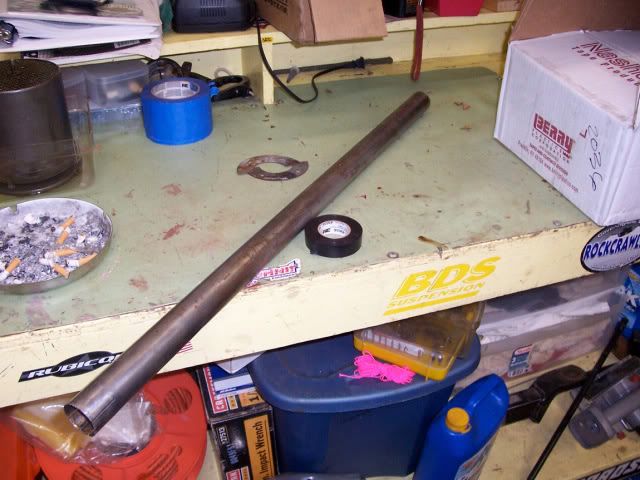
I made the lower patch panel out of sheet stock. I bent it around a piece of black pipe that was the same diameter. it came out very well and was a good experience to improve my body work skills (that aren't that great to start with). I ran into an issue after I put a base coat on it. I fitted it to the body and since the body is all out of square and whatnot, when I closed the tailgate in put a small crease on the patch panel I worked so hard on. you cannot see it as it is against the tub but the fact remains I know it is there and it bothers me. I left some small dings for character but now wish I hadn't. everyone says it looks fine, but to me compared to the work I did on the hood, fenders, grill and windshield it doesn't come close. maybe I am being overly critical. I cannot guarantee that when I replace the tub I won't pull the tailgate and redo it. |
|
|
|
|
Vince
Member
Sponsor Member Joined: 14 Nov. 2007 Location: UK Status: Offline Points: 332 |
Post Options
Thanks(0)
Quote Reply
Posted: 12 Apr. 2009 at 6:13pm |
|
It looks superb to me, a real inspiration, but I know what you mean.
Just about everything I've done so far, I've subsequently gone back and re-done. Partly because doing it the first time was a learning experience in itself - and having thought about it some more, I realised I could do it better (or I'd done it wrong anyway!) - and partly because I've seen other people's efforts on here and been inspired to do it differently. Even once I've got mine back together (I can't even really think when that's going to be at this stage), mine is still probably going to be a `work in progress' over many years as I go back and re-finish or finesse bits and pieces.
|
|
|
|
|
Scott R
Member
Joined: 16 Mar. 2007 Location: Gaines, MI Status: Offline Points: 1392 |
Post Options
Thanks(0)
Quote Reply
Posted: 14 Apr. 2009 at 1:18pm |
|
ovrlnd, thanks the reply. My bumper needs to come off for a little straightening, so I've been trying to figure out how in the heck I'm going to rivet it back on. Guess thats a question for a new thread, although I may just use bolts like you did.
After your description of the tailgate repair I see how you did it now... Good idea!
Can certianly empathize with the redo factor. Looks like I'll be redoing tub repairs I made last summer. It's all a learning process for body repair knowledge that I hope to apply to another tub in the future.
|
|
|
|
|
ovrlnd
Member
Joined: 18 Feb. 2008 Location: MIchigan Status: Offline Points: 1746 |
Post Options
Thanks(0)
Quote Reply
Posted: 23 Apr. 2009 at 2:26am |
|
last saturday I worked on getting stuff wired on the passenger side of yancy. not finalized yet as I didn't have enough cloth loom for the negative cable so once that comes in I can install it. got the ammeter and the fuel gauge back in and in the correct location and got the foot starter switch installed. not a whole lot to shout about but necessary stuff none the less.
the coil that was on there is for use with an external resistor. I thought about reusing it. then I changed my mind and am now just going to run an internally resisted coil so I do not have to muss things up with a bypass wire and resistor making it a cleaner look. so it's back to waiting on parts.
routing the cables and marking for length
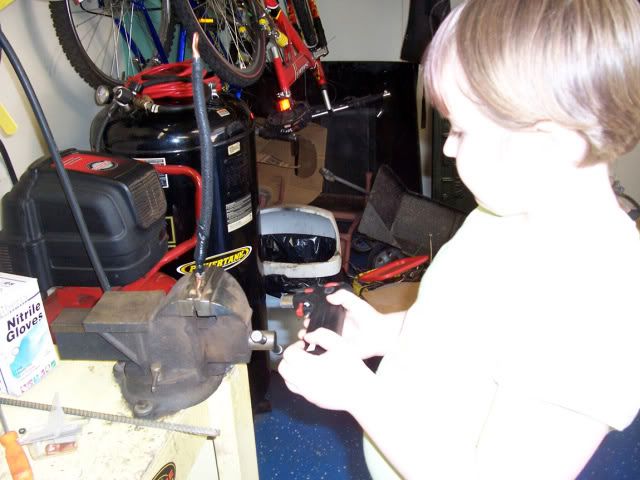
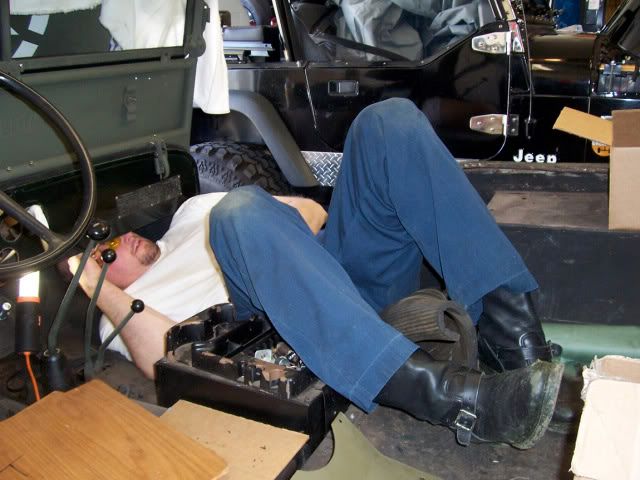
 my daughter wanted to help make the cables. we stripped the wire end and she operated the torch while I fed in the solder. then she used the heat to shrink the heat shrink tubing over the seam. she was excited. (this is a poser shot, hence the lack of safety gear)
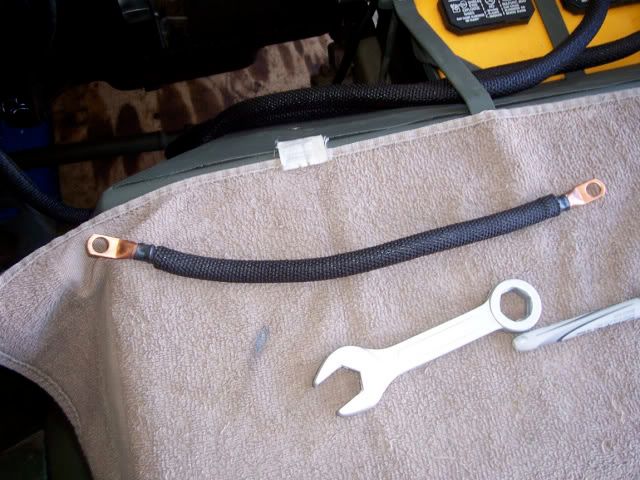
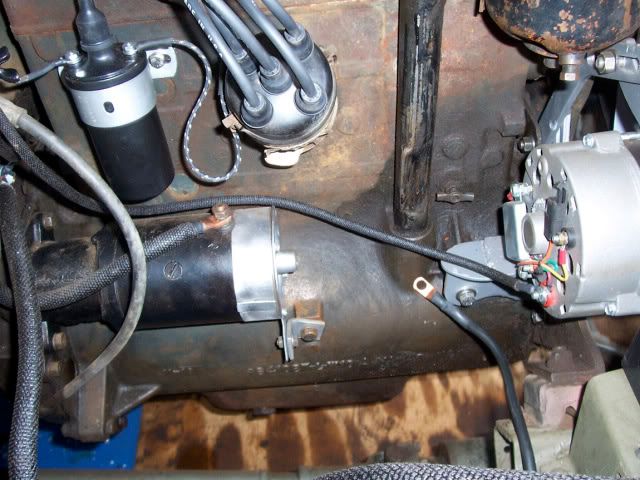
 the finished starter to foot switch cable
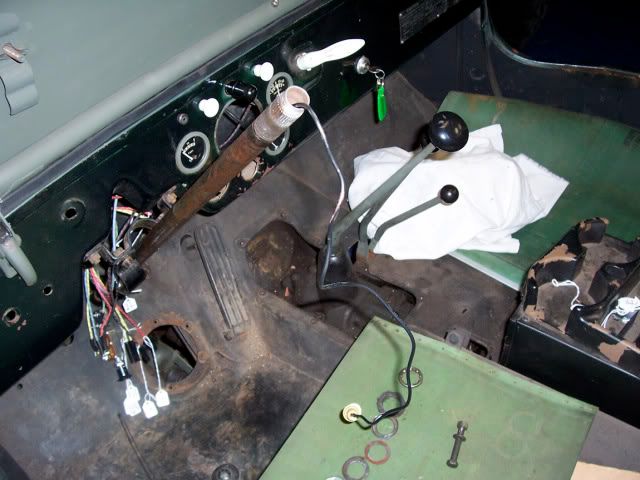
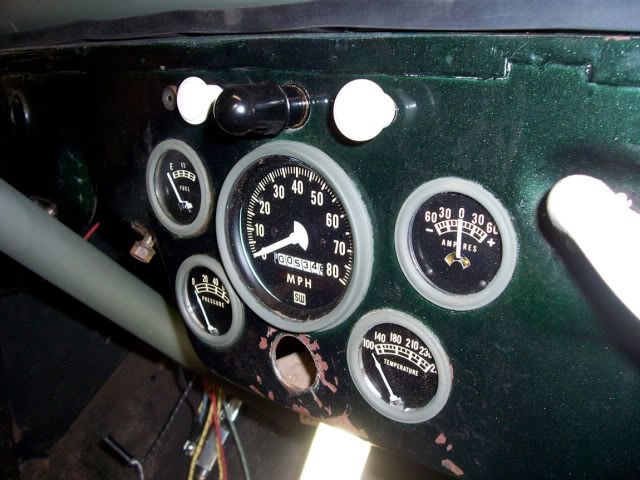
 working on putting the dash back together and wired. we got the 2 guages back in and wired, opened the original key location and put in the ignition switch and high beam indicator.
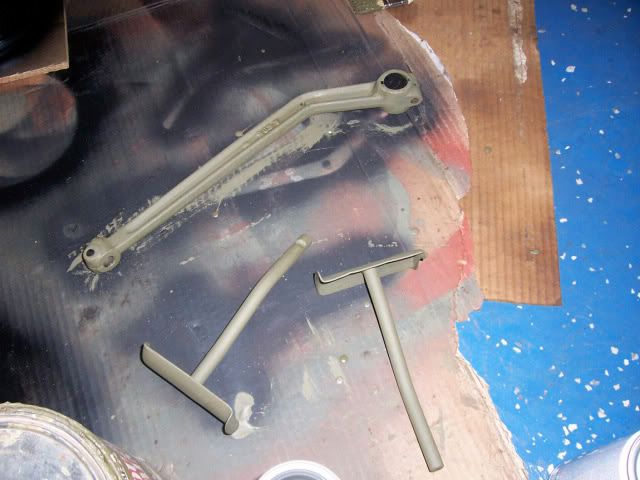
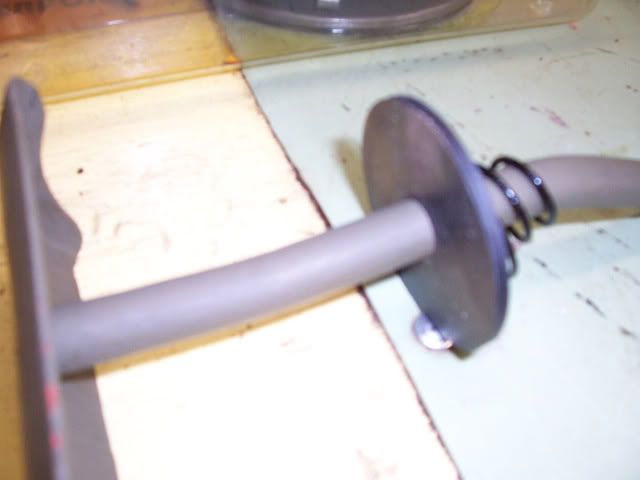
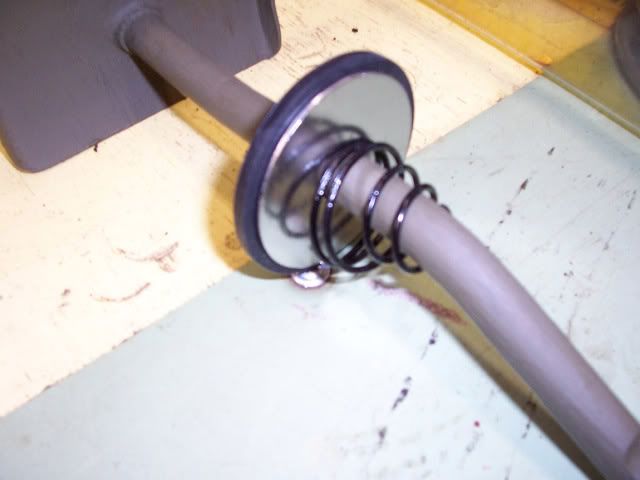
 I ended up making my own pedal draft pad set. my springs were fine so I cleaned them up and painted them and got some neoprene and stainless fender washers from the hardware. looks good and very inexpensive.
Edited by ovrlnd - 23 Apr. 2009 at 2:29am |
|
|
|
|
ovrlnd
Member
Joined: 18 Feb. 2008 Location: MIchigan Status: Offline Points: 1746 |
Post Options
Thanks(0)
Quote Reply
Posted: 03 May 2009 at 4:04am |
|
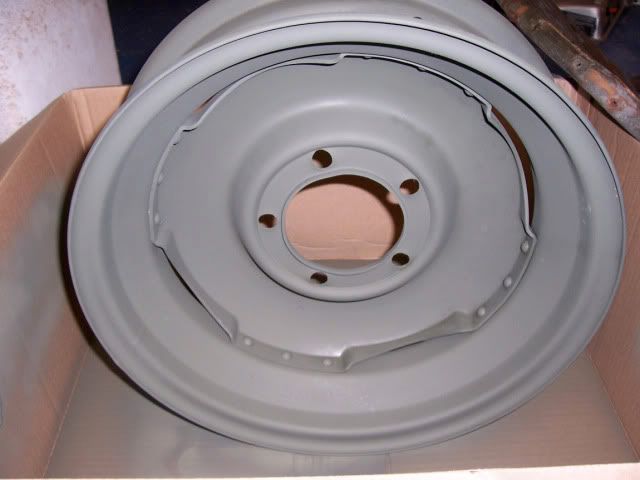
this week and today I got a bunch of work done and in the next few weeks making some big progress. thursday I dropped off the rims and passenger seat frame off at the stripper. the firestone ndt's should be here late next week as well.
yay, new parts
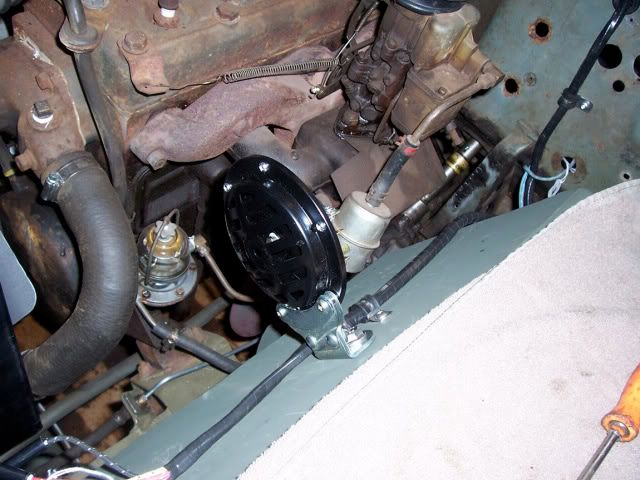
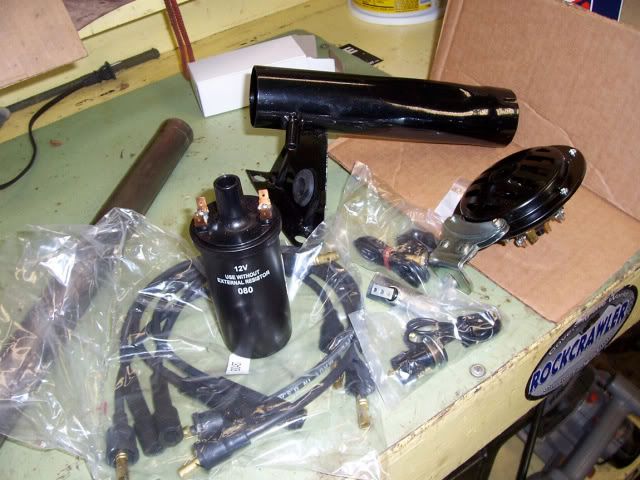 new air horn
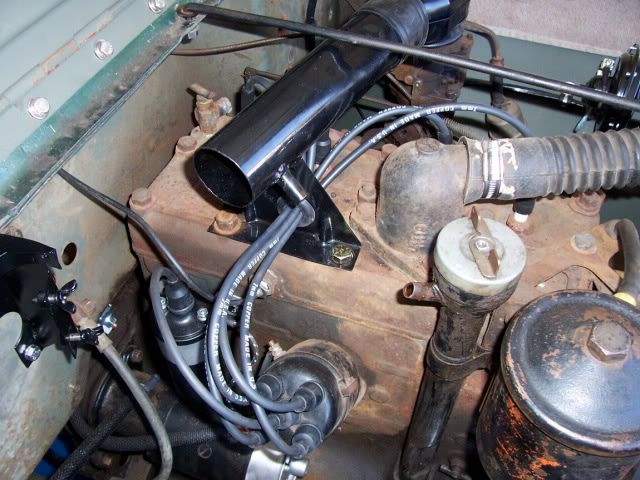
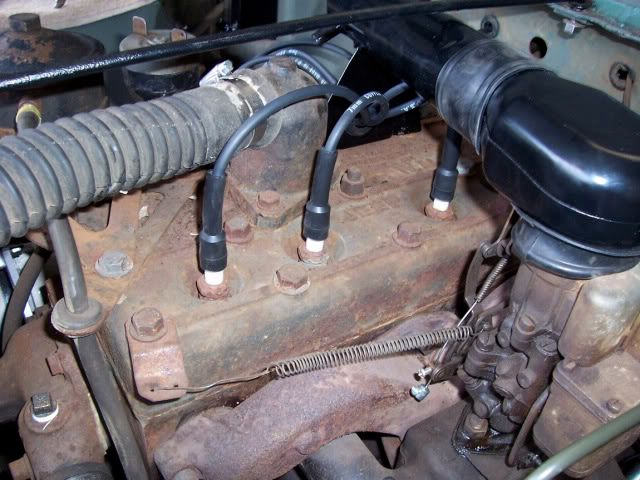
 Installed the new crossover tube and plug wires
 new cork gaskets for the oakes air cleaner from beachwood canvas.

 making new line for the oil pressure gauge
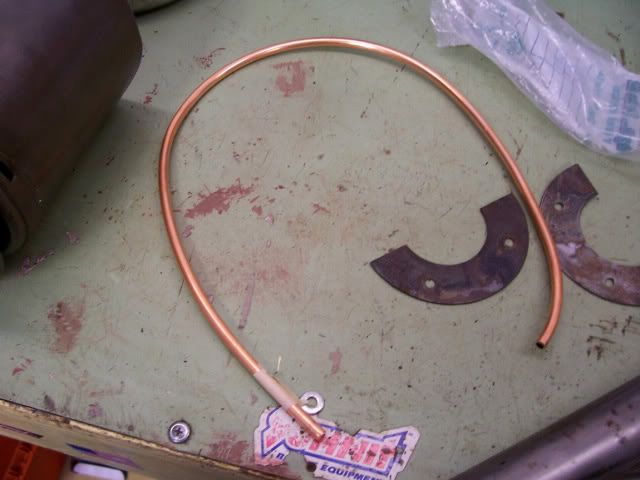
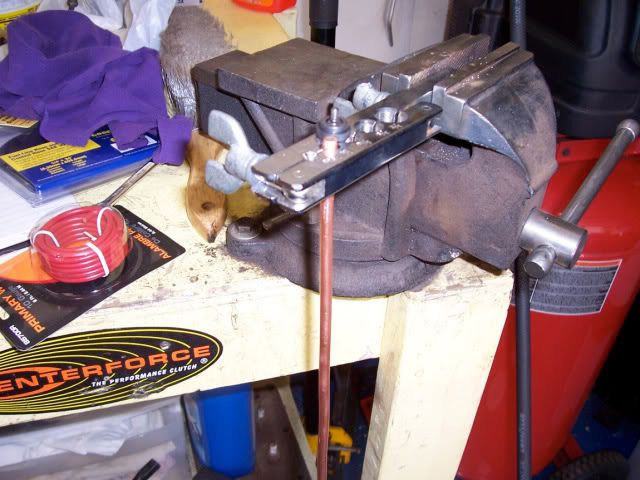 on the copper tubing after I cut it I like to lower it in the fixture and file it flat even to the fixture to get a nice flare. then cut off the nice flare and do it over because I forgot to put the fitting on.
 making the wire from the ignition to the coil
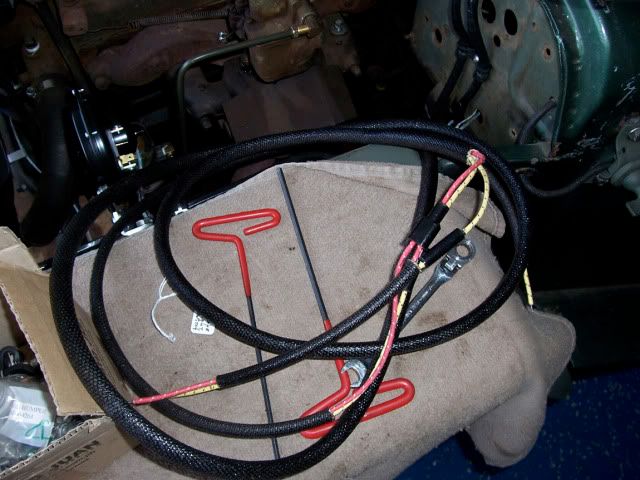
 alternator wire and routing of wires on the passenger side of engine bay
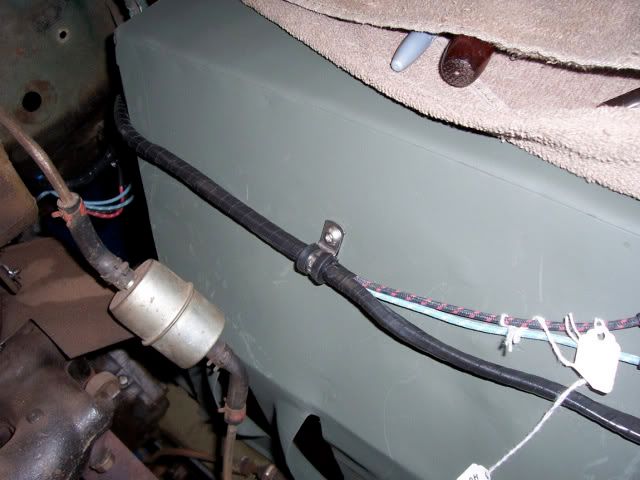
 new fuel pump to carb line. pretty neat as I got this at autozone and it was o.d. green.
I moved the fuel filter underneath on the line from the tank.
new fuel pump to carb line. pretty neat as I got this at autozone and it was o.d. green.
I moved the fuel filter underneath on the line from the tank.
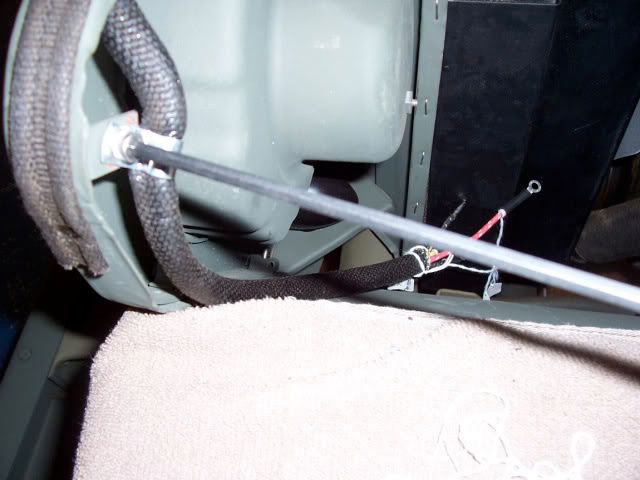
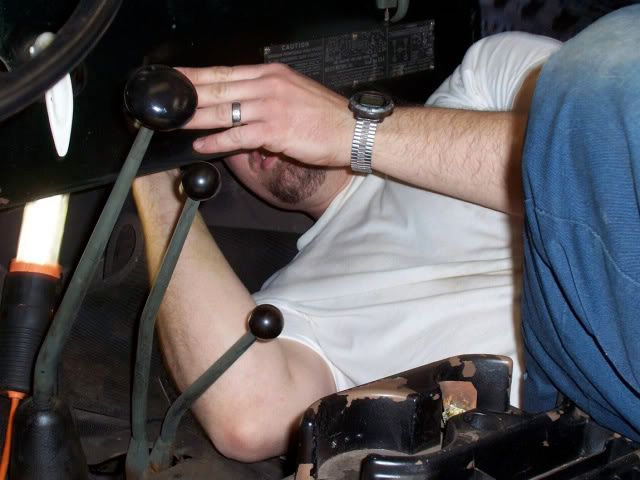
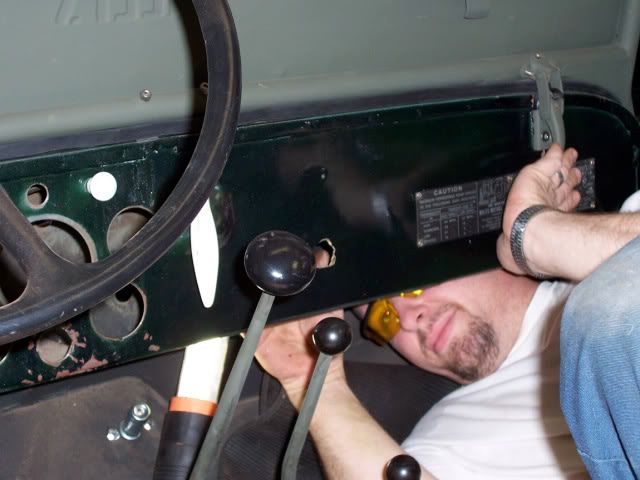
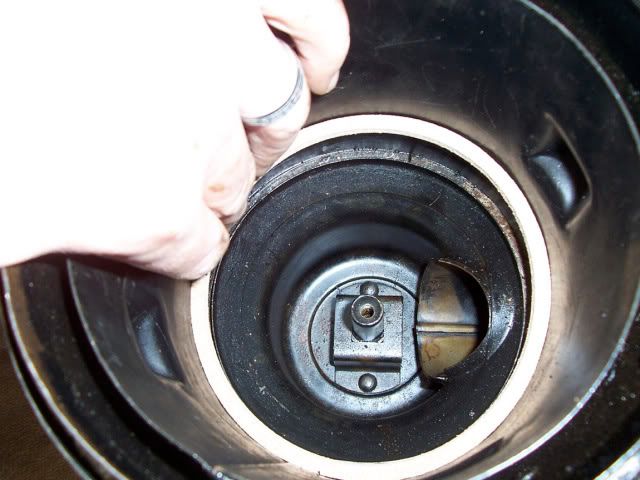
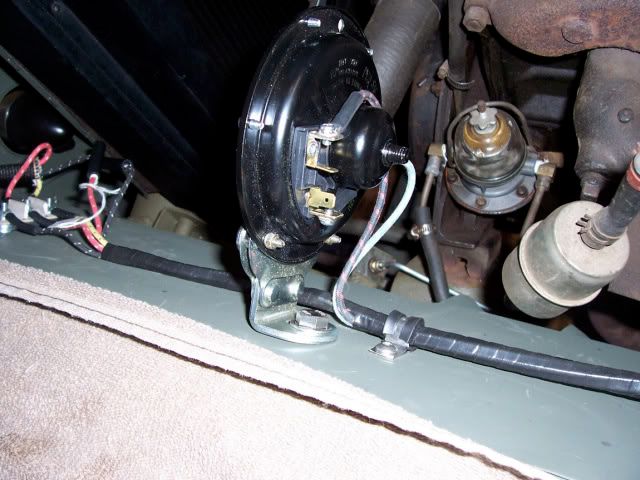
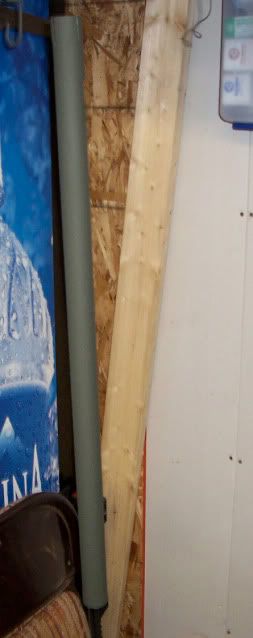
 since I am rewiring I wanted to get some items returned to normal and the first thing I tackled was the horn. I removed the column plate and the column tube
 I removed the old horn parts down in the worm tube.
then fished through the new horn assembly wire. I did this by pulling a length of mason string up the worm shaft and taping it to the new horn wire then pulling it back through with ease.
I removed the old horn parts down in the worm tube.
then fished through the new horn assembly wire. I did this by pulling a length of mason string up the worm shaft and taping it to the new horn wire then pulling it back through with ease.

 put the new horn where it will go.
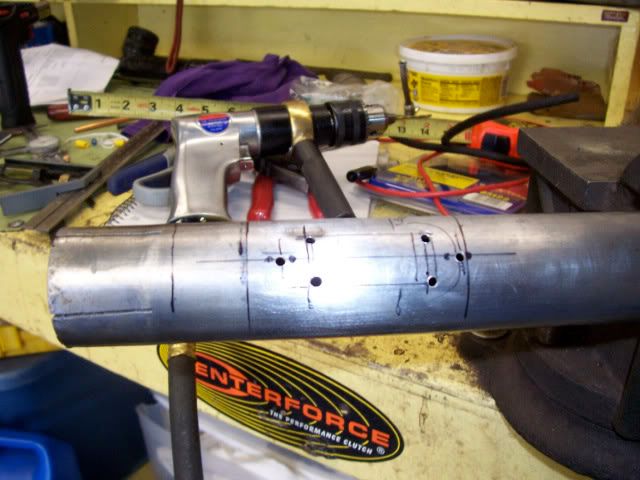
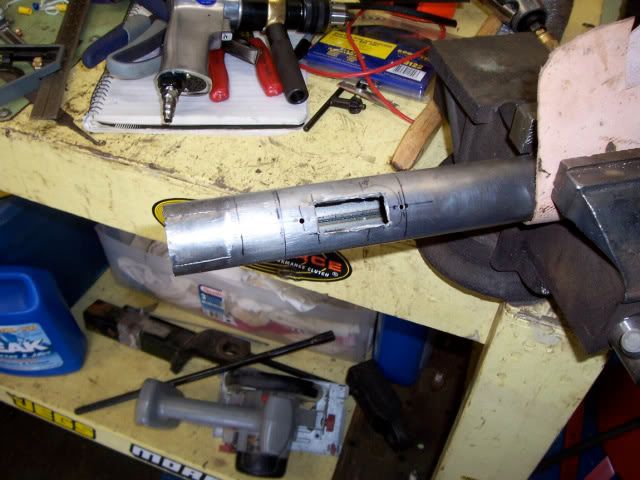
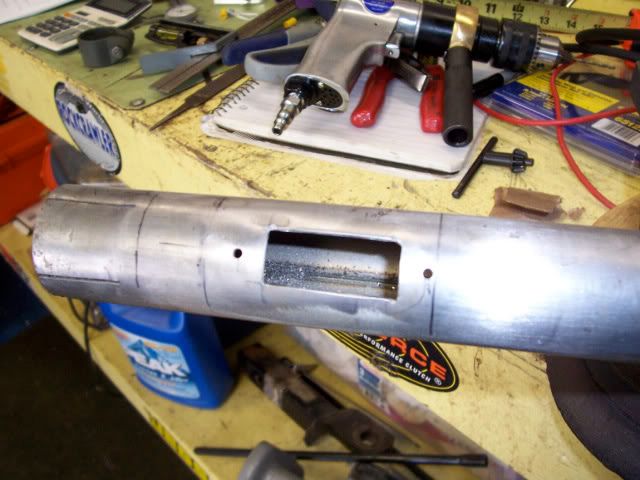
 then I had to install the contact on the outer tube and my tube had no cutout. so I measured and cut the hole for the contact and tapped the mounting holes to 8-32.
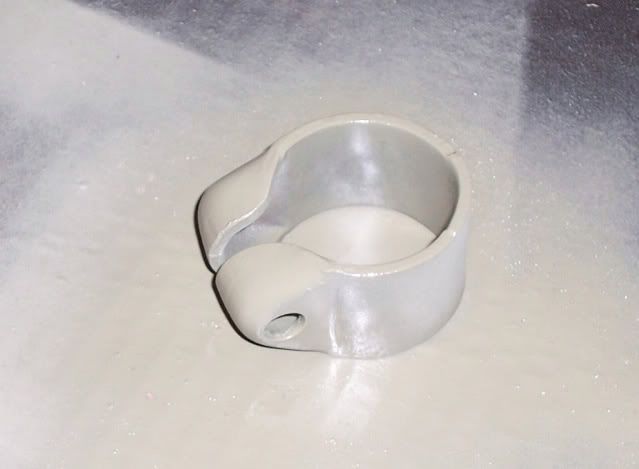
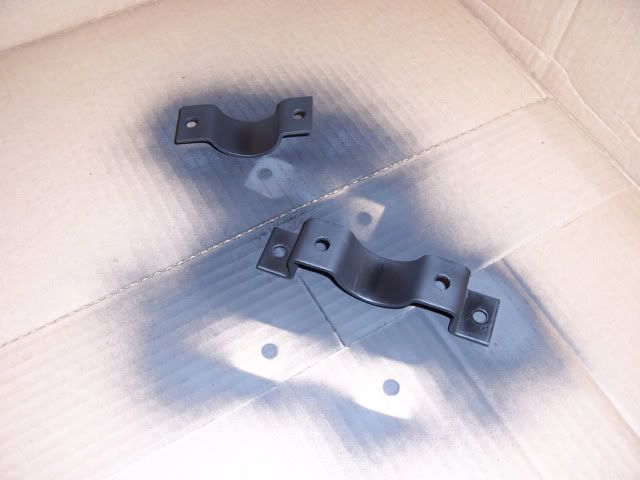
 refinished the column tube clamp
 but I am still waiting on the new upper column bearing to arrive.
working on the driver seat
but I am still waiting on the new upper column bearing to arrive.
working on the driver seat

|
|
|
|
|
ovrlnd
Member
Joined: 18 Feb. 2008 Location: MIchigan Status: Offline Points: 1746 |
Post Options
Thanks(0)
Quote Reply
Posted: 21 May 2009 at 2:53am |
|
more progress. finishing up the wiring to get everything working. and starting to get things back together in hopes of getting it down to my buddies shop for some trans and driveline work. getting really close to firing yancy back up and getting excited. I got the passenger seat back from the stripper and the back pan is really pitted, thin and in worse shape that previously thought so i plan to order a new back pan to replace it completely.
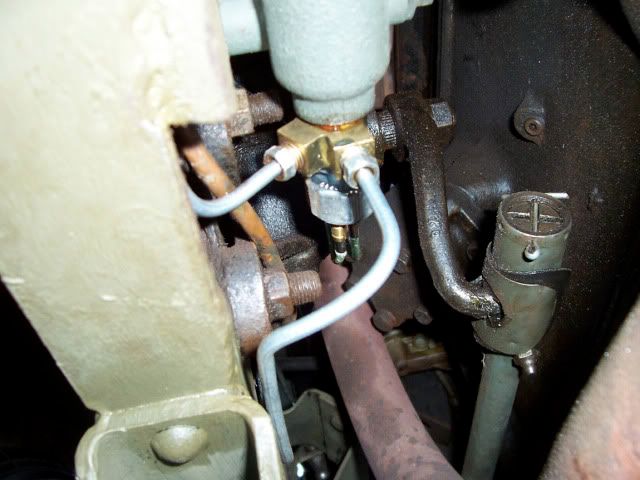
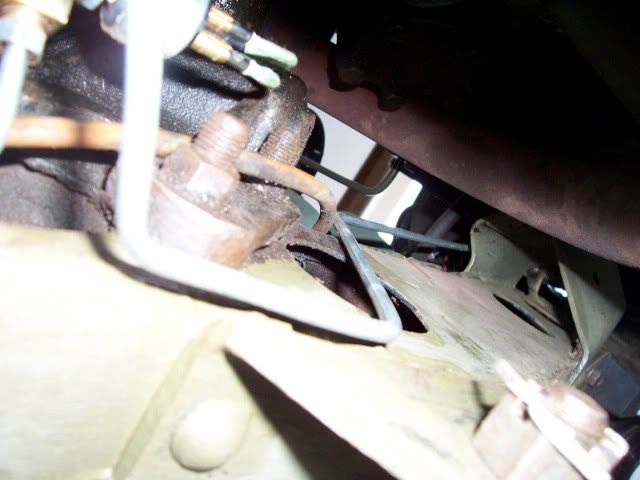
pics of the routing of the brake lines off the master cylinder
 running the rear harness
 the refinished steering column
 new upper bearing in the column. this really fixed the major slack from the old worn out bearing.
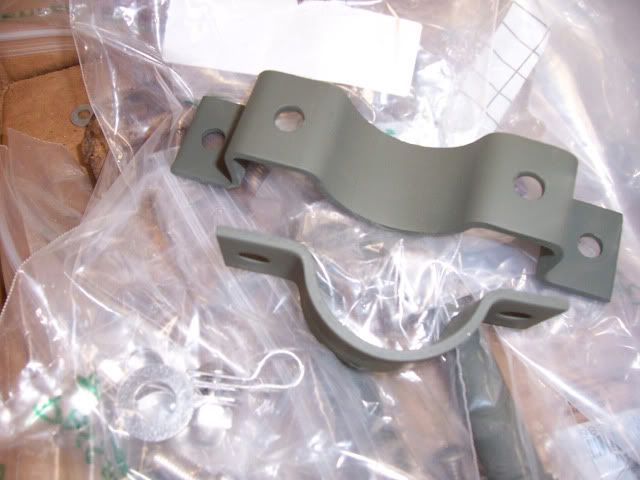
 Refinishing the steering column bracket
 steering column reinstalled with wheel
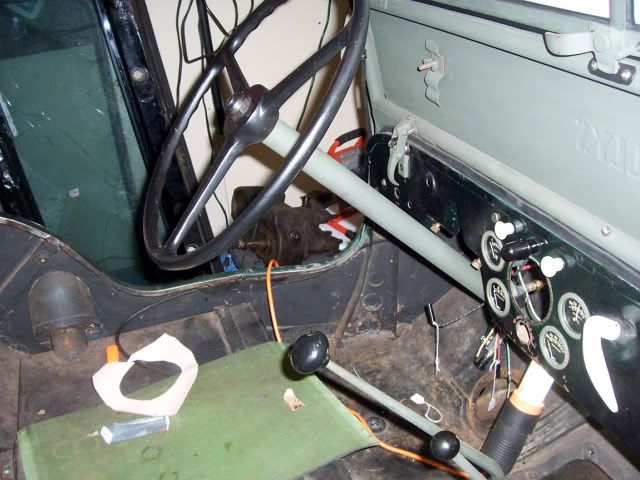 the horn button, works great beep beep.
 gauges back in
 tail lights on and working
 parking lights work
 headlights work, high beam switch works and the high beam indicator light comes on like it should
 air cleaner back in with the new stainless clamps
 Passenger side lower fender bolts back in
 Rims
Rims
 Thanks to my buddy bob at cruisers candy shop who is a coker tire dealer got me the Firestone ndt's and tubes for a great price.
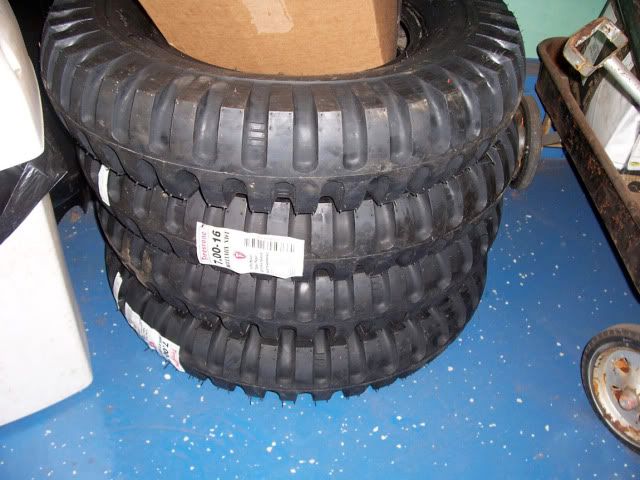
 so I am going to try and get the tires mounted up this weekend and get them on, install the clips for the battery cables, and get some connectors to finish up the tail lights/rear harness.
|
|
|
|
|
F Bill
Member
Sponsor Member x 2 Joined: 05 Dec. 2005 Location: central Texas Status: Offline Points: 7752 |
Post Options
Thanks(0)
Quote Reply
Posted: 21 May 2009 at 3:35am |
|
Sounds like you are in view of the light at the end of the tunnel! COngrats!
|
|
|
If you haven't checked out the tech FAQ section, go to:
http://www.thecj2apage.com/forums/tech-faq_forum57.html for a lot of great stuff you need to know!! |
|
|
|
|
ovrlnd
Member
Joined: 18 Feb. 2008 Location: MIchigan Status: Offline Points: 1746 |
Post Options
Thanks(0)
Quote Reply
Posted: 24 May 2009 at 1:11am |
|
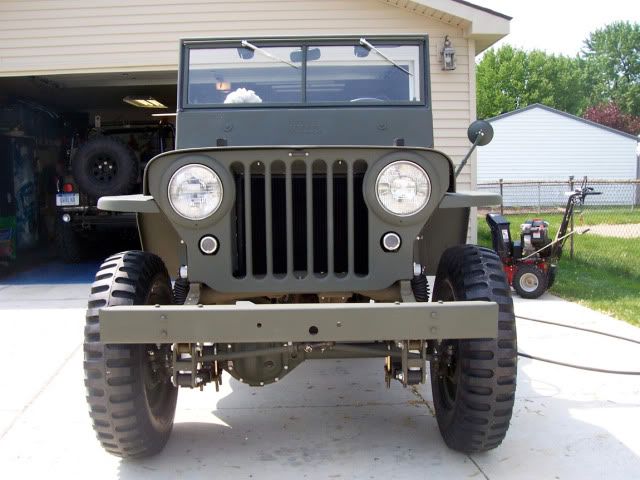
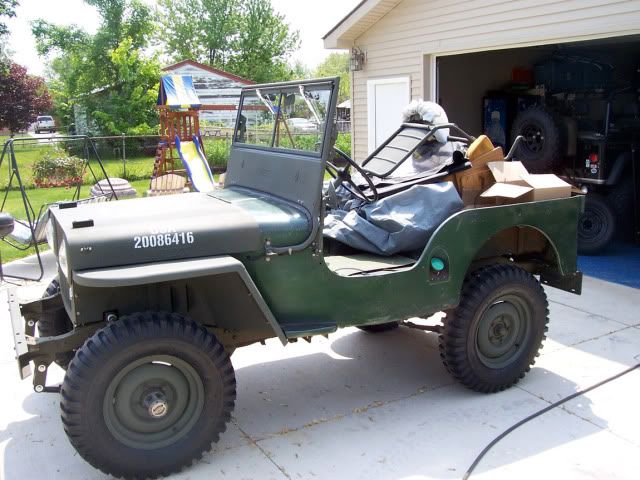
I got the ndt's mounted on the rims. and got them on yancy. man what a difference in the looks!!!. really glad I got the 7.00x16 size with the 1" springs I installed. got the wipers connected to the ammeter for power and put the light switch in the dash leaving only a few small finishing touches to wrap the electrical up I hope. I also put the pedals back in with all the new hardware.


|
|
|
|
|
jeep795
Member
Joined: 17 June 2009 Location: Three Rivers,MA Status: Offline Points: 171 |
Post Options
Thanks(0)
Quote Reply
Posted: 22 June 2009 at 2:27am |
|
the front end looks great. Dash looks pretty good too. i wish i had a tub in that good of shape. And not to hijack but what kind of directional was that attached to your steering wheel. I have what looks like the same one but with out a cover on it? Keep up the good work!
|
|
|
|
|
Post Reply
|
Page <12345 7> |
| Tweet |
| Forum Jump | Forum Permissions You cannot post new topics in this forum You cannot reply to topics in this forum You cannot delete your posts in this forum You cannot edit your posts in this forum You cannot create polls in this forum You cannot vote in polls in this forum |


 Topic Options
 woodshopguy wrote: